This guide will help you utilize the Lead Assign platform to the fullest. We will cover all of the important tools you can use to ensure your leads get to the right agents.
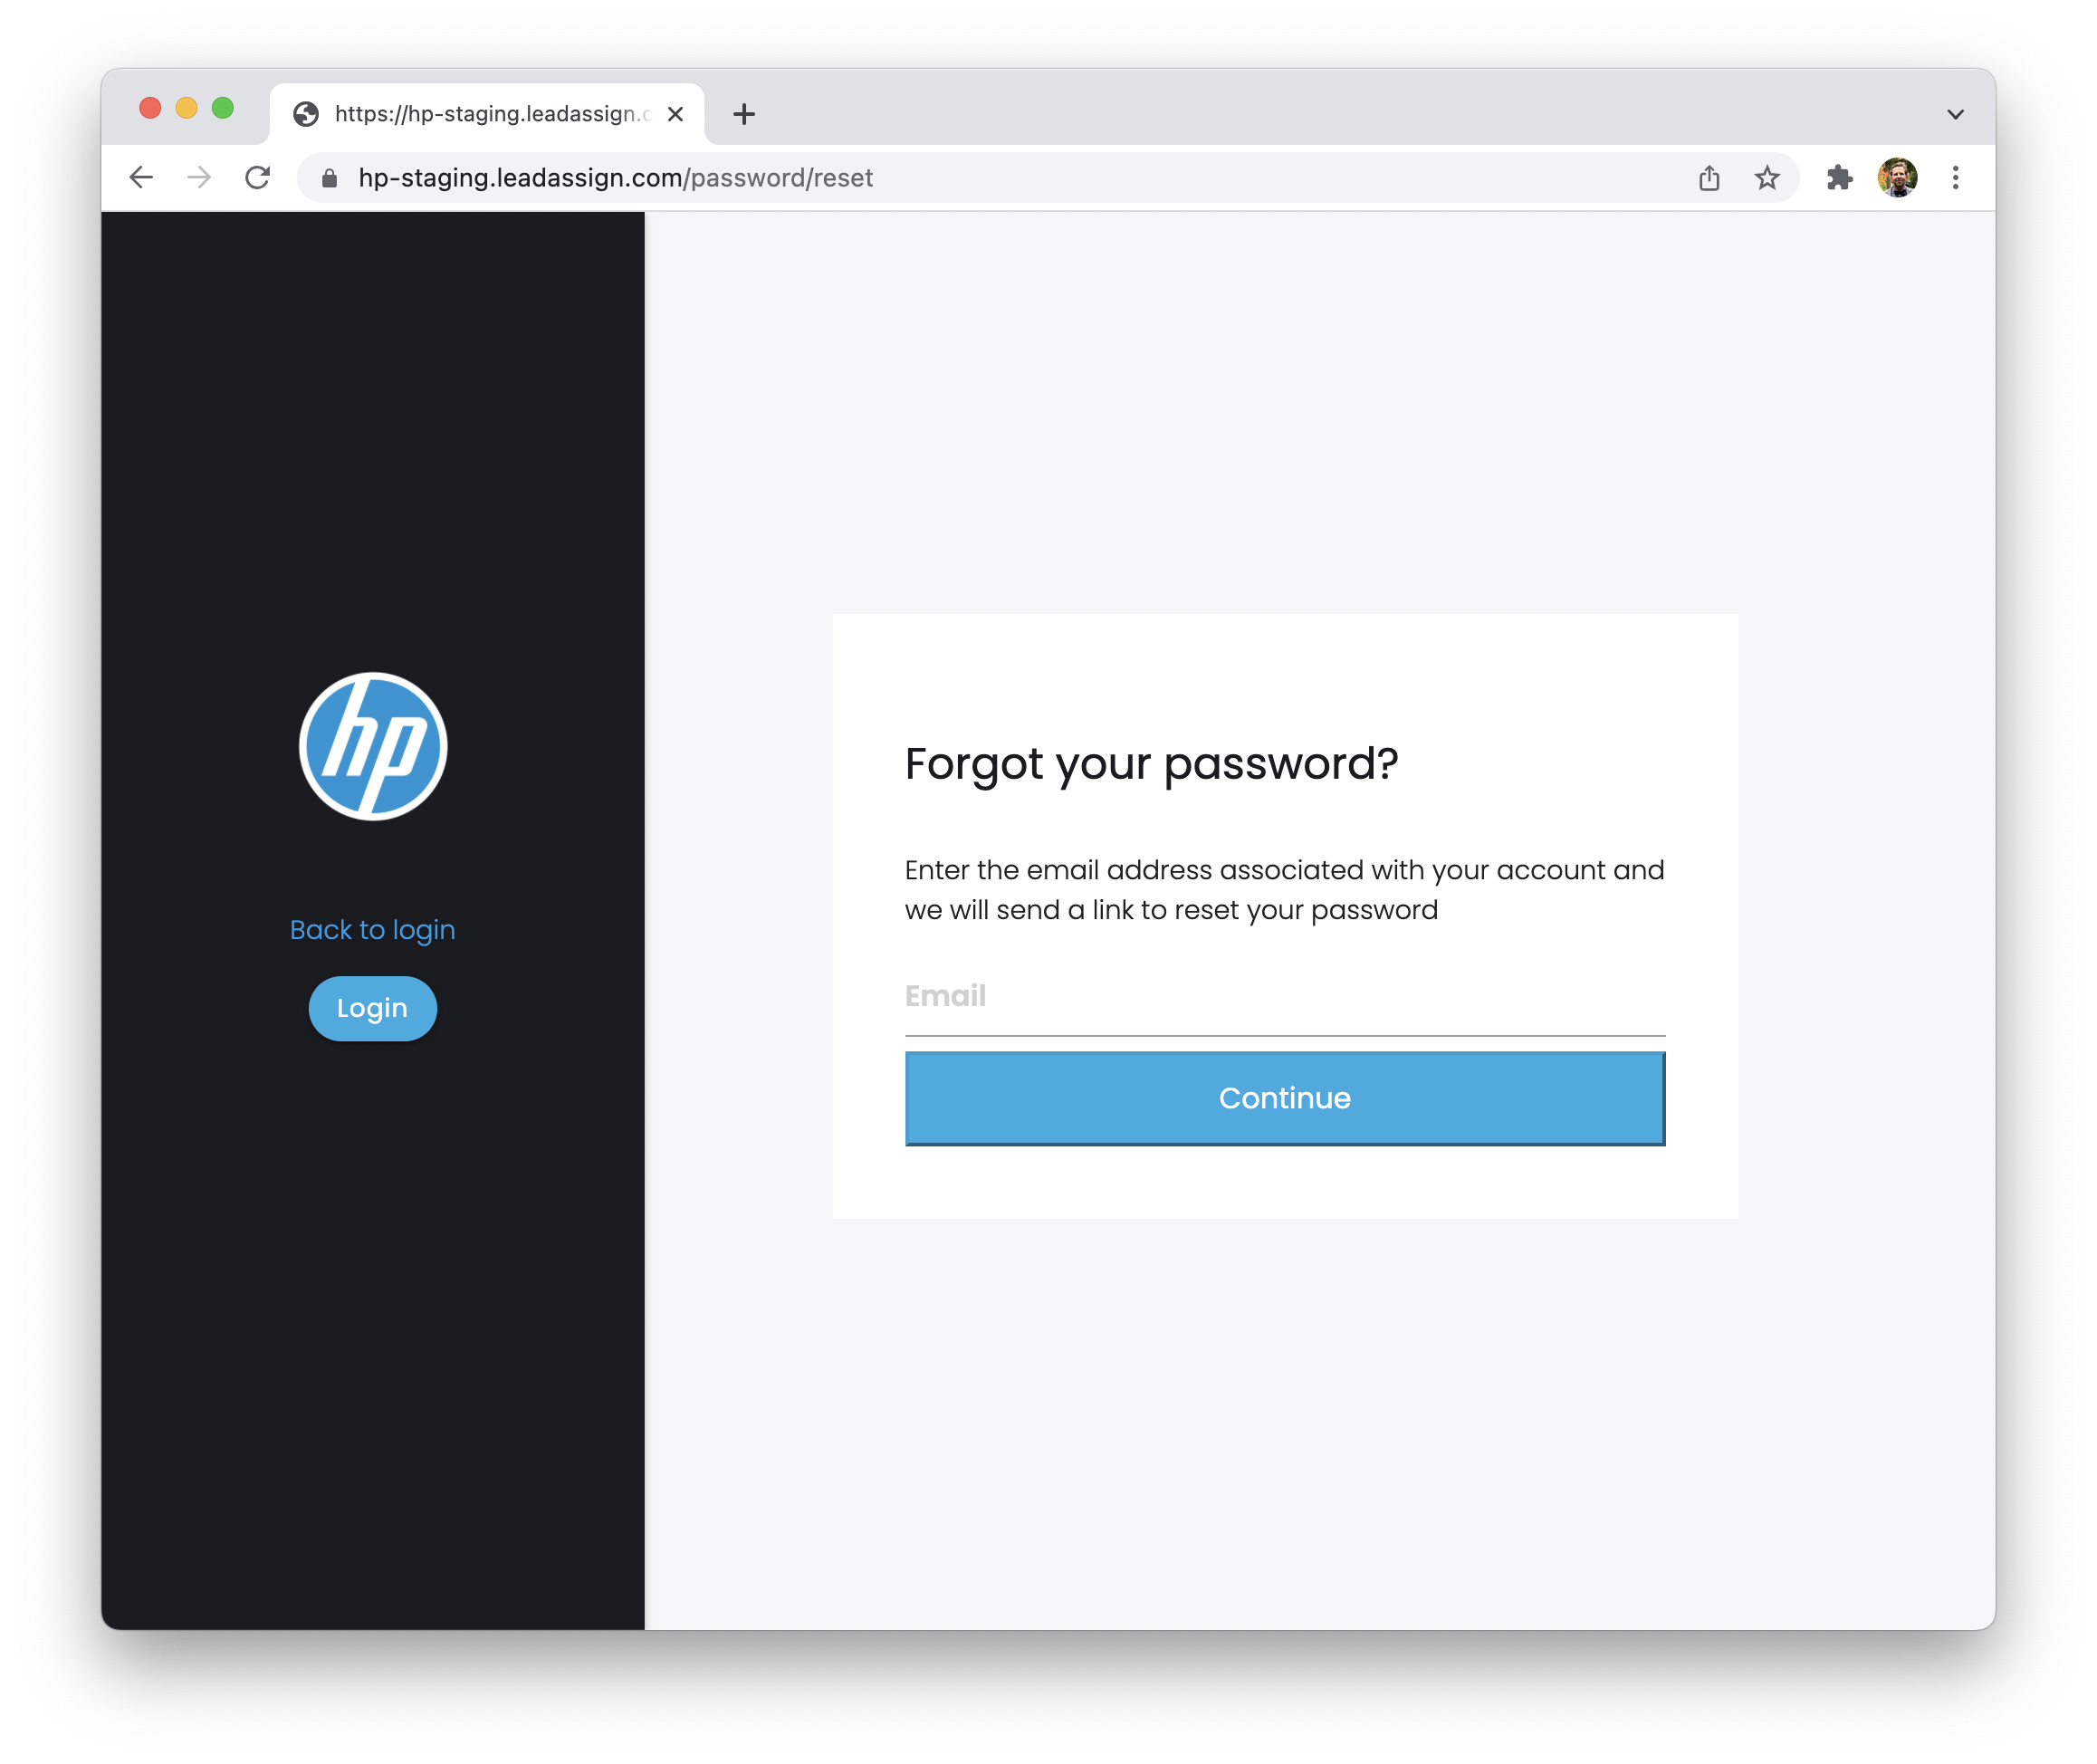
Click the “forgot my password” link and you will be sent to this screen. Enter your email address and you will be provided a reset link. Simply click the reset my password link from the email and set you password for log in.
Understanding The Dashboard
Once you are inside the Lead Assign platform you will see the company dashboard. If you are in more than one company you will see a company select page, select a company to get started.
At the top of the page you can select the timeframe that you would like to display. You can also add a search filter for more specific results.
In the Account Response Performance section you will see details on all of the leads in the selected timeframe that match the selected search filter.
Below that you will find a breakdown of every individual agent. Click on their bar to see more details. You can see how many leads the agent has been offered, how they are responding, and their progress on accepted leads.
Leads Page
The leads tab is where you can view and manage all of your existing leads. You can:
Click a Lead to get more details.
Delete or reassign a lead by clicking the three dots on the right side of the lead.
Search for a lead, export leads, and view spam leads in the top right corner.
Add leads, manually or via CSV, by clicking the red plus in the bottom right corner.
Or create and view filters by clicking the filter name or the grey plus to the right of the “ALL LEADS” tab.
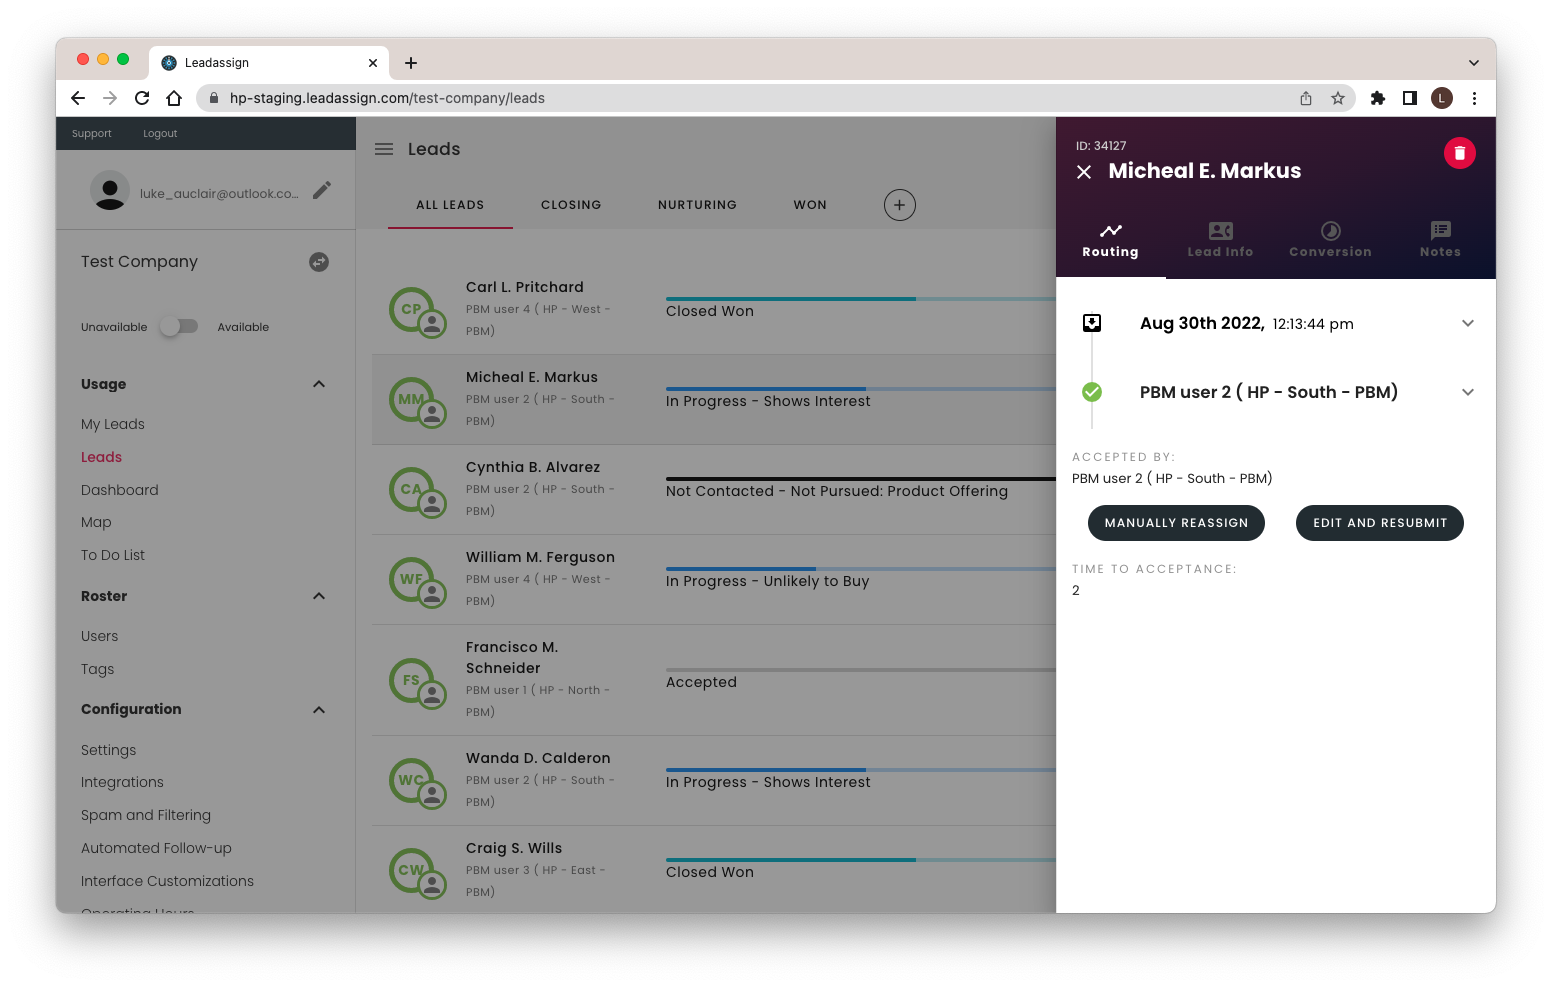
Clicking on a lead will open a new sidebar.
From here you can find all the important information seperated into 4 different tabs.
Routing – See who was offered the lead and their response.
Lead Info – View the lead details, contact information, and tags tied to the lead.
Conversion – See the current status of the lead. This status is set by the lead owner.
Notes – View any comments or notes made by the lead owner, or add some new notes of your own.
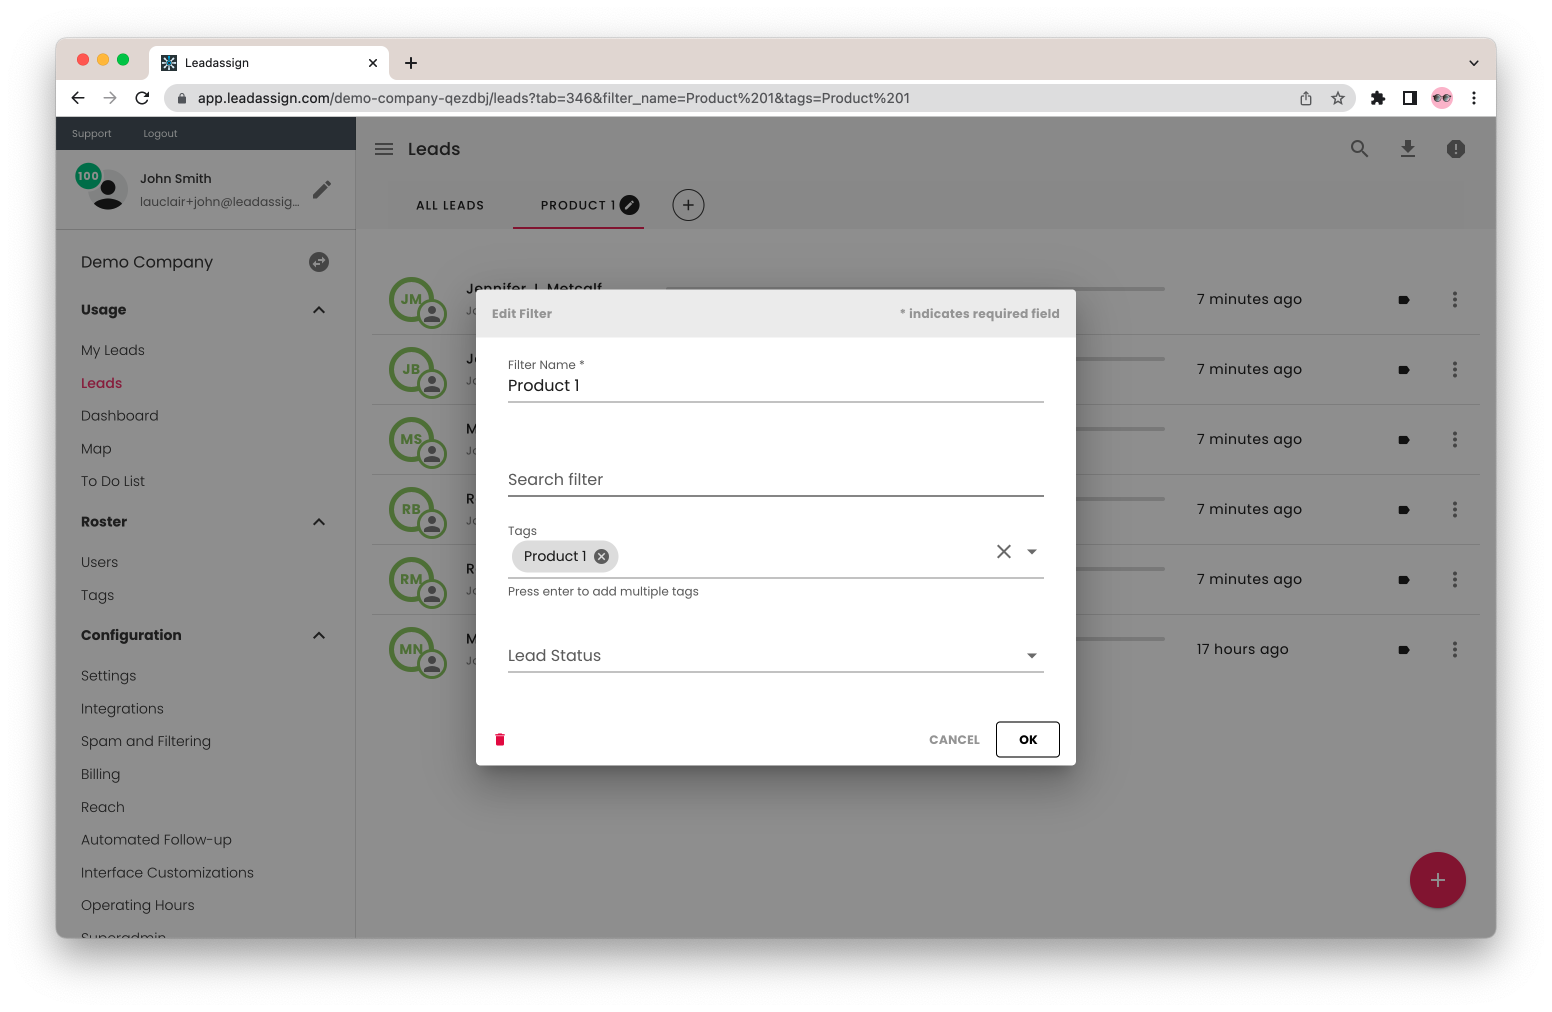
You can also create and save lead filters to quickly find leads.
Click the Grey Plus to create a new filter, select your parameters then hit OK to save.
Adding Leads
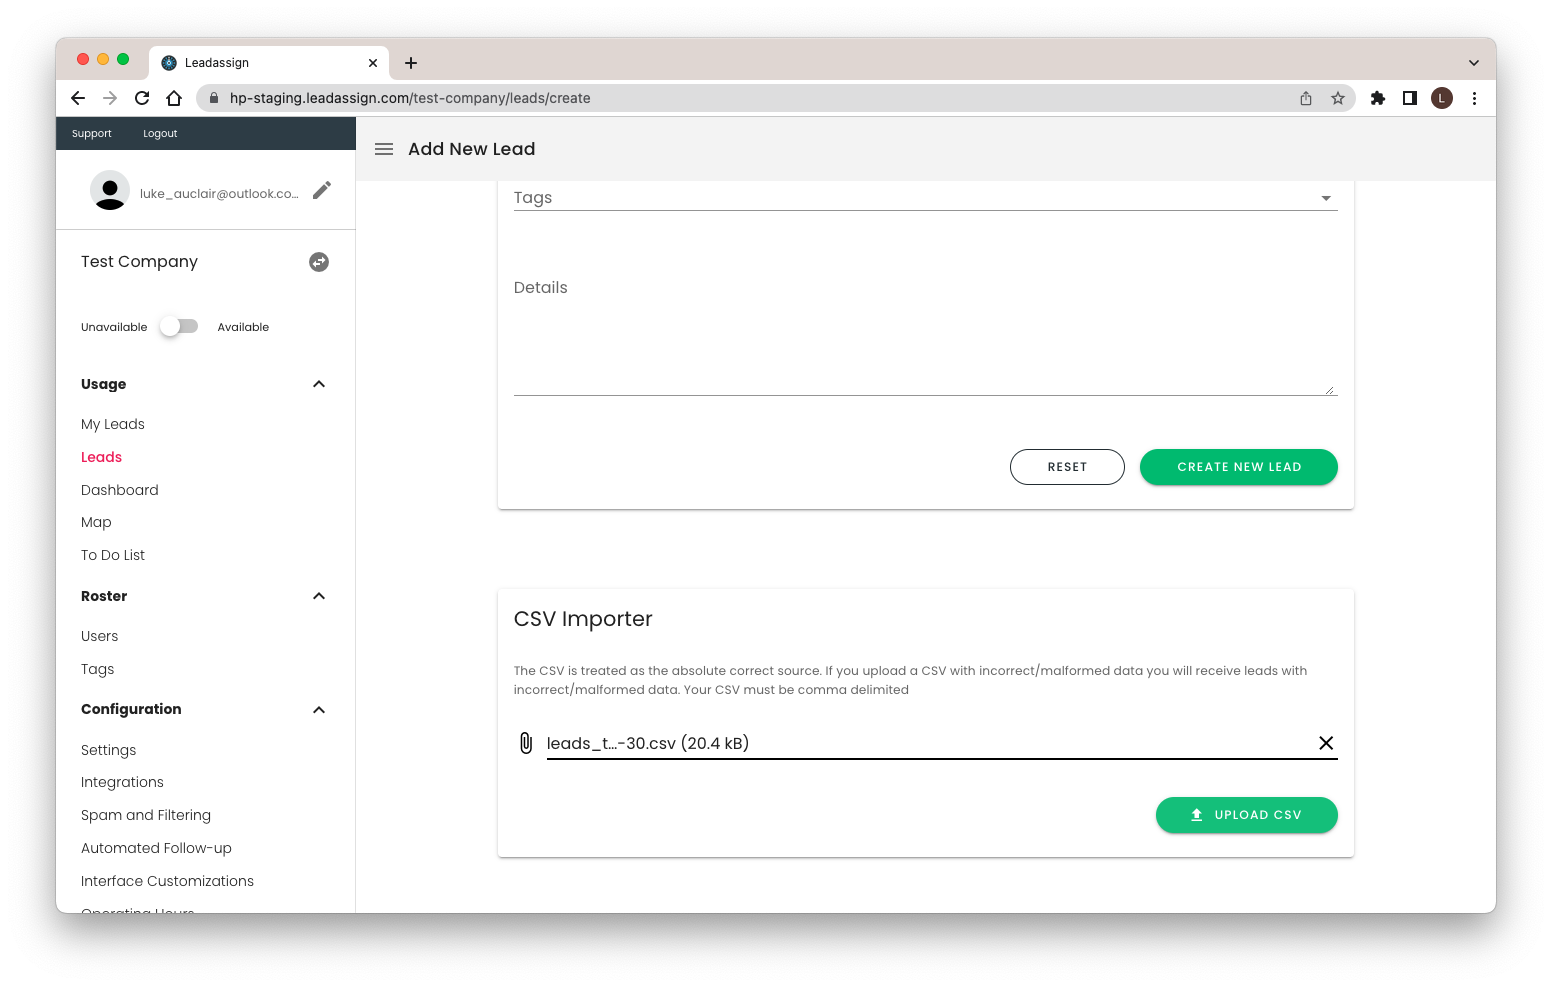
From the Leads page, click the red + in the bottom right corner to add leads. you can add a single lead manually by adding the lead details to the form.
Scroll down to add multiple leads simultaneously with the CSV Importer. Select a CSV file from your library by clicking the paperclip, then click Upload CSV.
Leads can also be added automatically using the email endpoint found under the integrations tab.
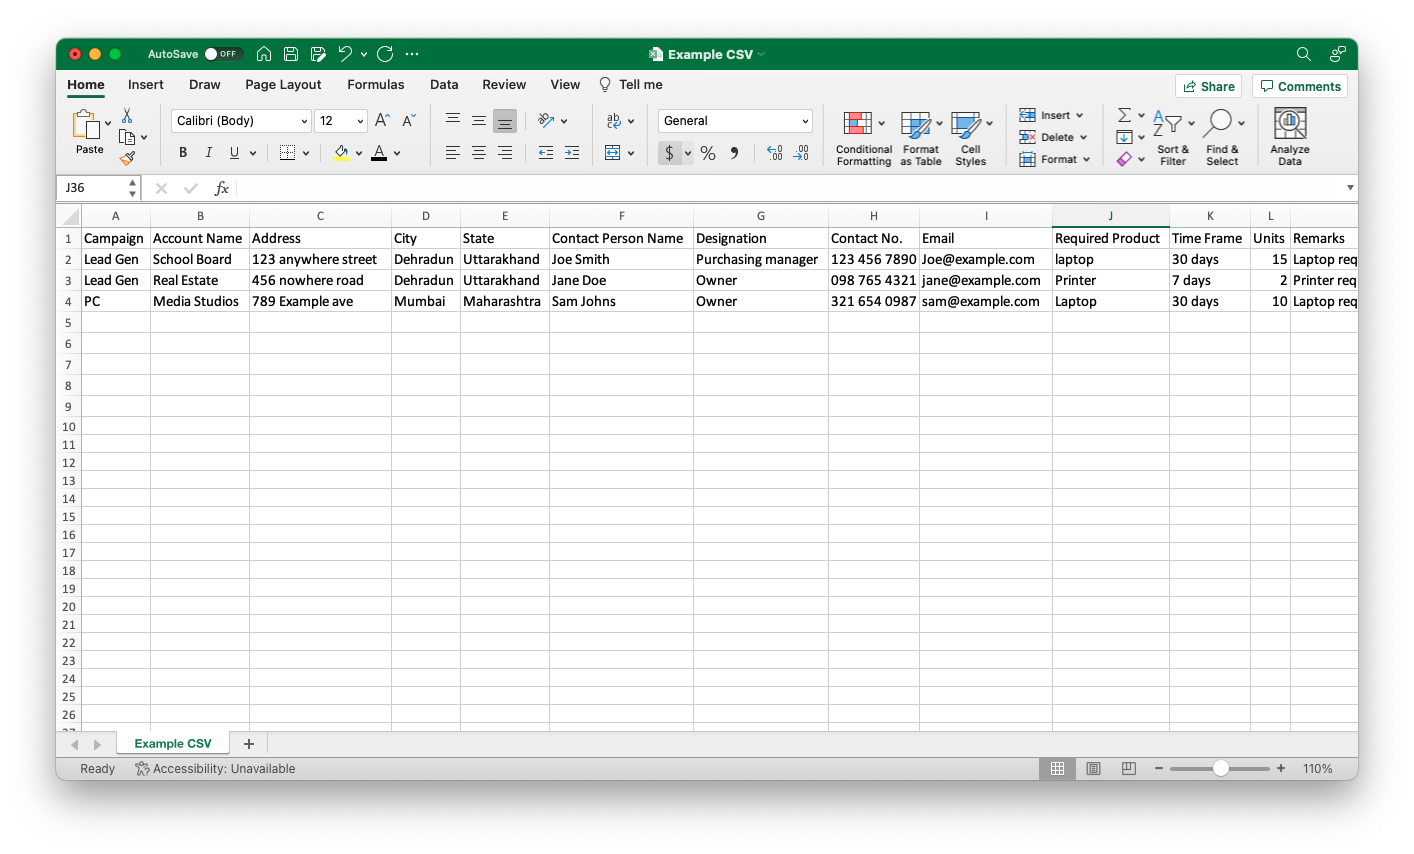
Here is an example CSV displayed in Microsoft Excel’s format.
The column titles are customizable, using this method you are add multiple leads at the same time, with each row after the first representing a new lead.
Add this file to the CSV Importer found at the bottom of the Add New Lead page to submit multiple leads.
Catchall
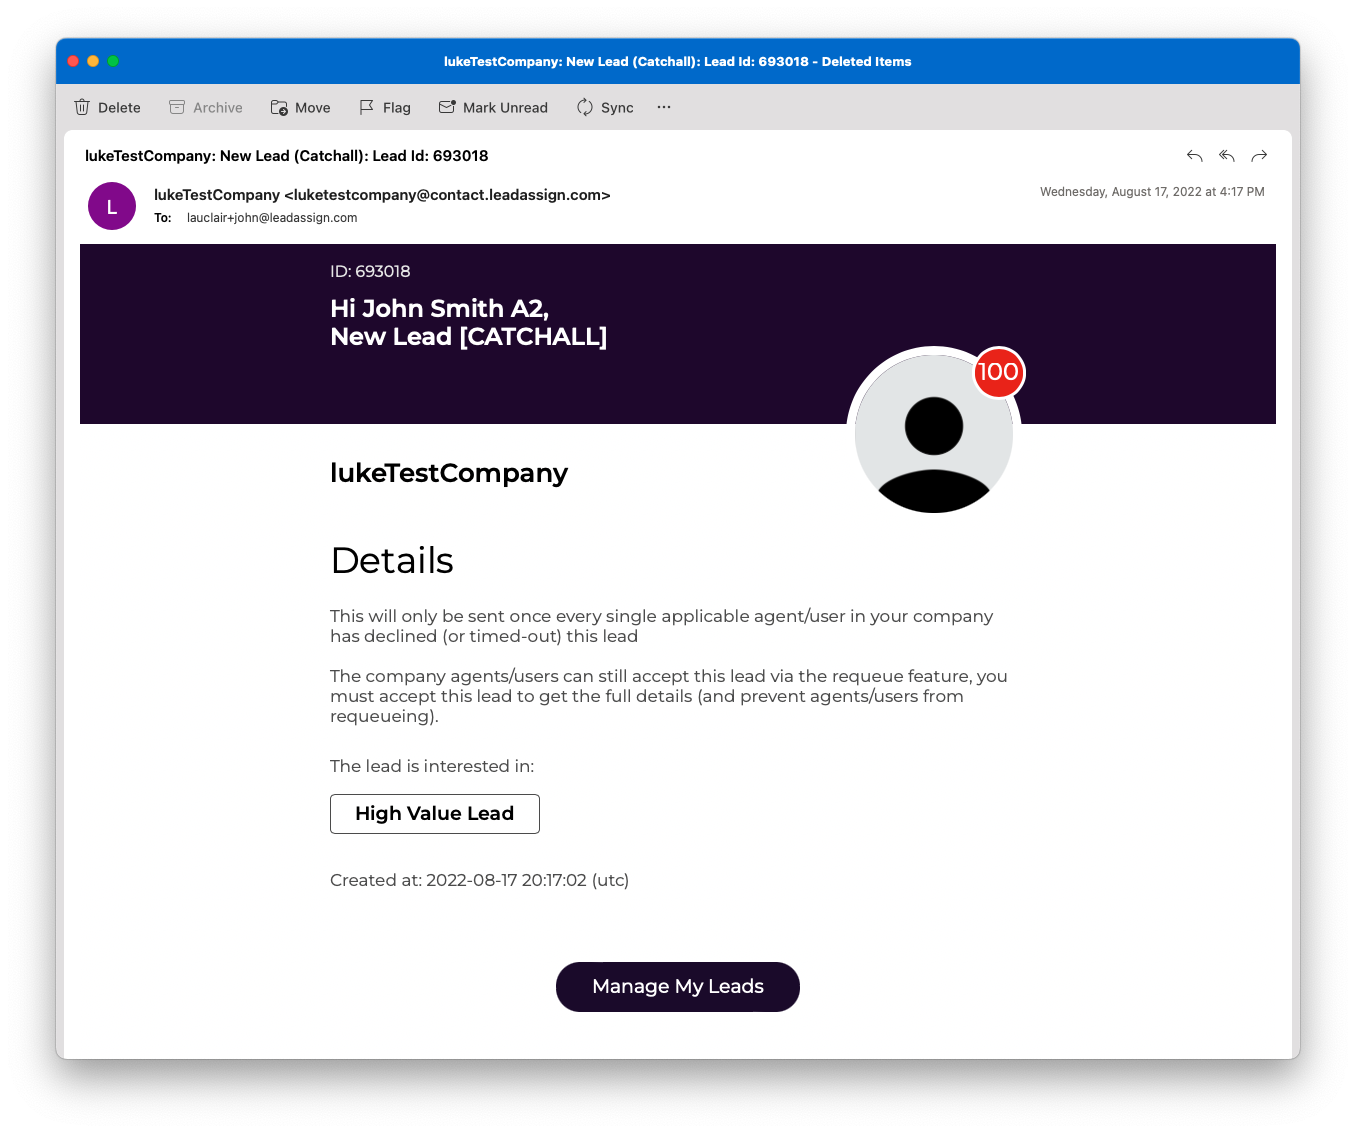
If a lead is not accepted by a qualified user, or a lead does not have a qualified user, it may come back to you as a catchall. It is important to know what to do in this situation.
If this happens you will receive an email stating that you have a NEW LEAD [CATCHALL], Click “Manage My Leads” at the bottom to open all of your catchall leads.
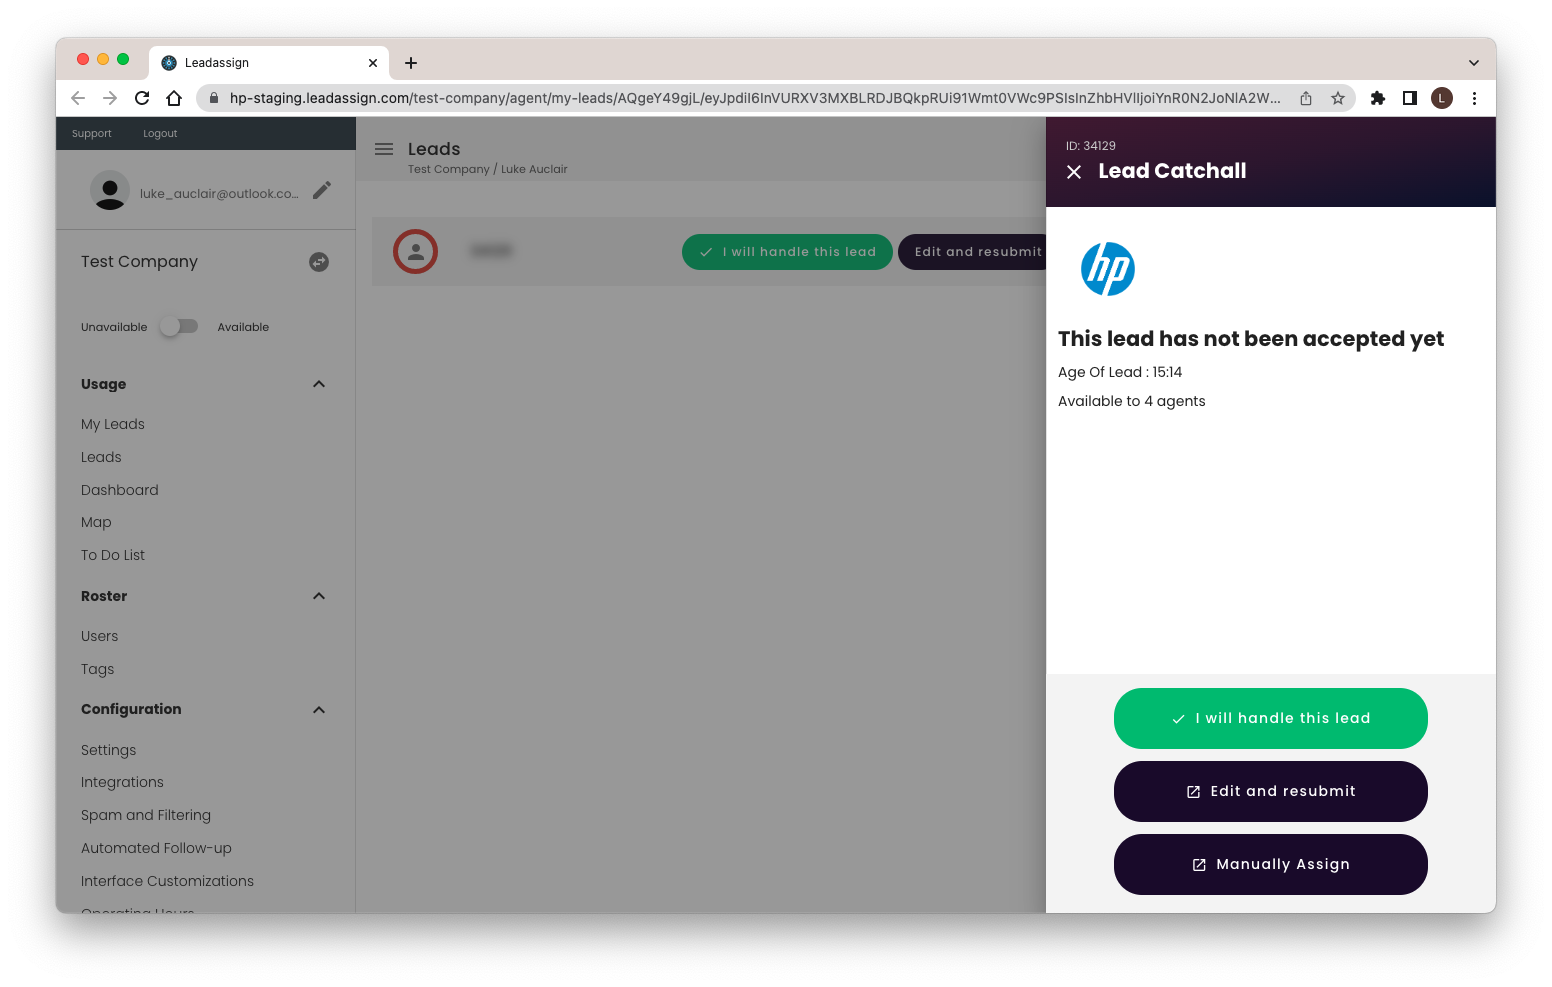
When viewing your catchall leads from a browser you can select:
I will handle this lead – This will assign the lead to you, you will receive the leads details and are expected to follow up with the lead
Edit and resubmit – This will bring you back to the add lead form with the details filled out. Click “Create New Lead” to restart the routing process
*continued below
Manually Reassign – This will bring you to the Manually Reassign page. You can select any agent from the dropdown to assign the lead to, or quickly select one of the agents that were already offered the lead.
Note. This will skip the routing process and the lead will be automatically assigned to the selected agent.