Welcome to Lead Assign. This is a document for admins, walking them through the onboarding process. Ensuring routing and your agents are set up properly. Give them the tools they need to close leads and make sales!
The difference between users, admin and all the important user preferences.
3. Tags and Lead Routing
Ensure your leads get to the right agent every time.
4. Billable Tags
Charge Recipients for the lead they accept.
5. Common Settings
Customize our interface to perfectly fit your needs.
6. Adding Leads!
With your company and Lead Assign set to your liking, its time to get the ball rolling for you sales team!
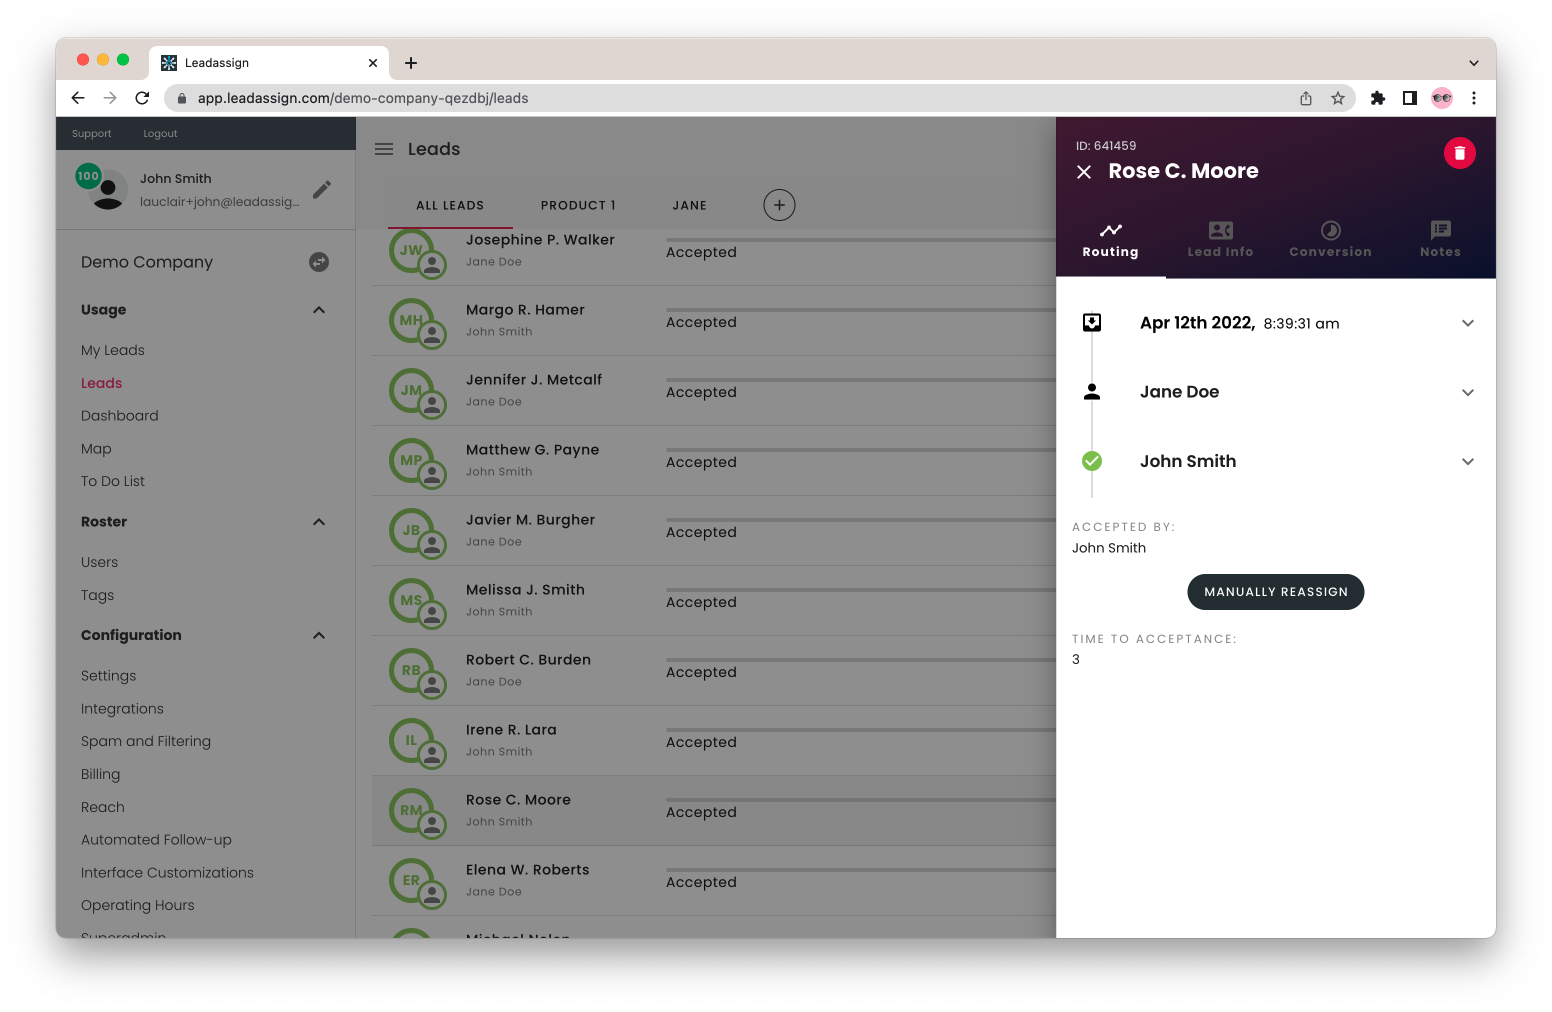
7. Managing Leads
Find and manage all of your companies leads.
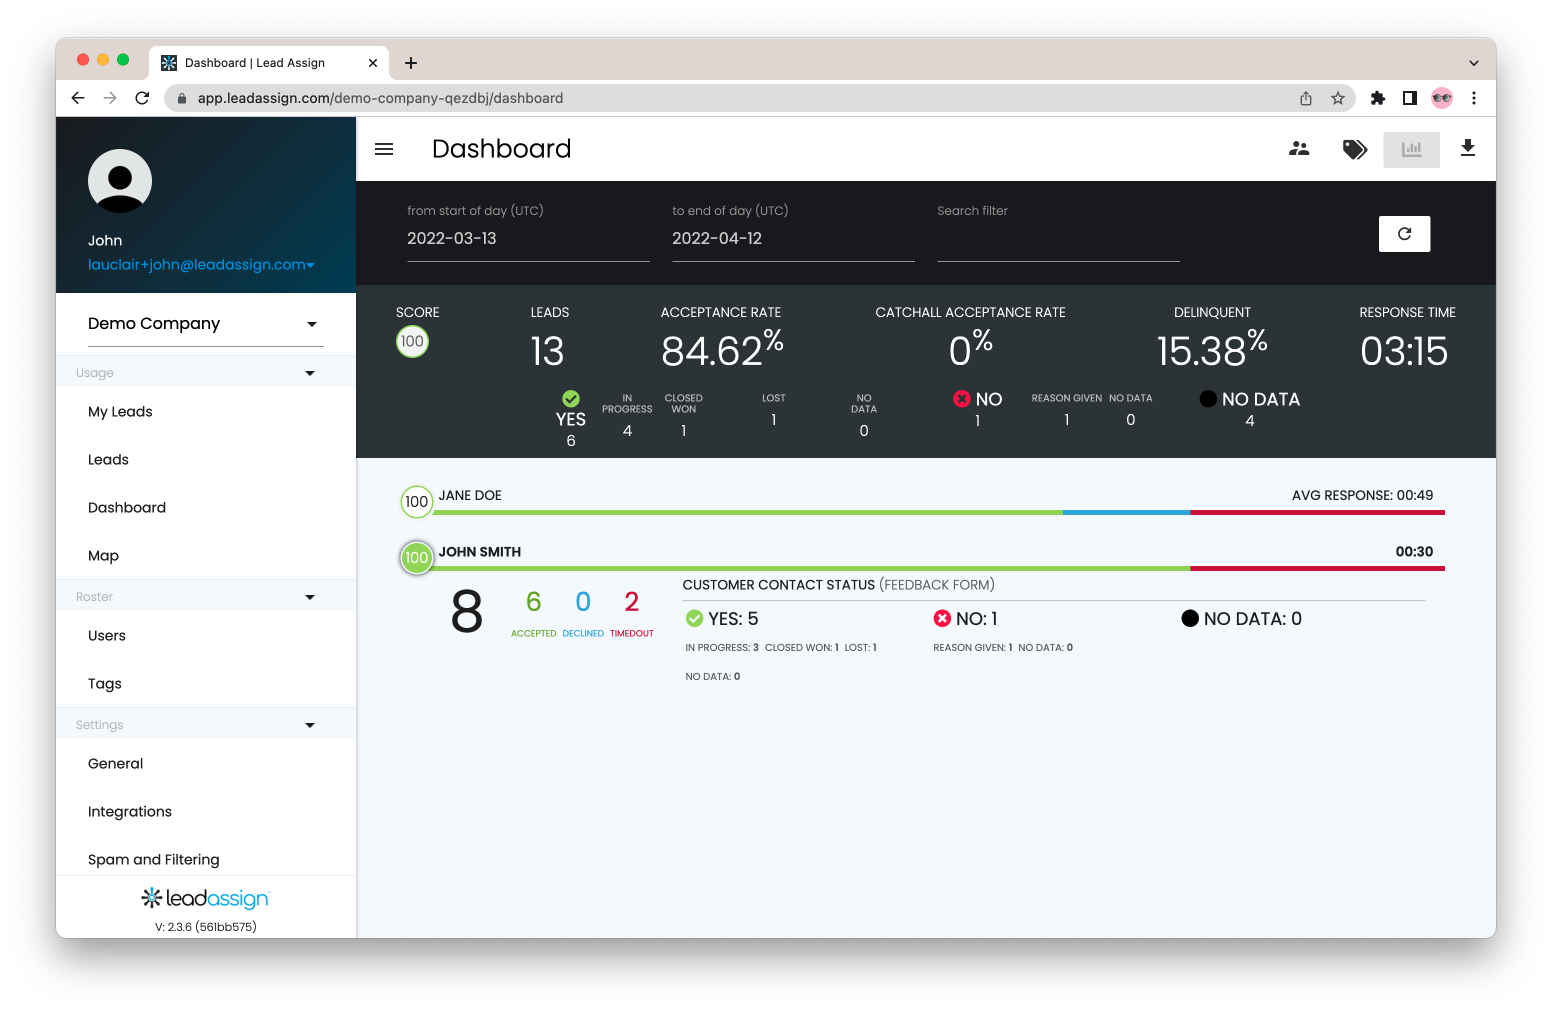
8. Understanding the Dashboard
Useful information to help admins identify the most lucrative agents, tags, and lead sources.
Company Creation
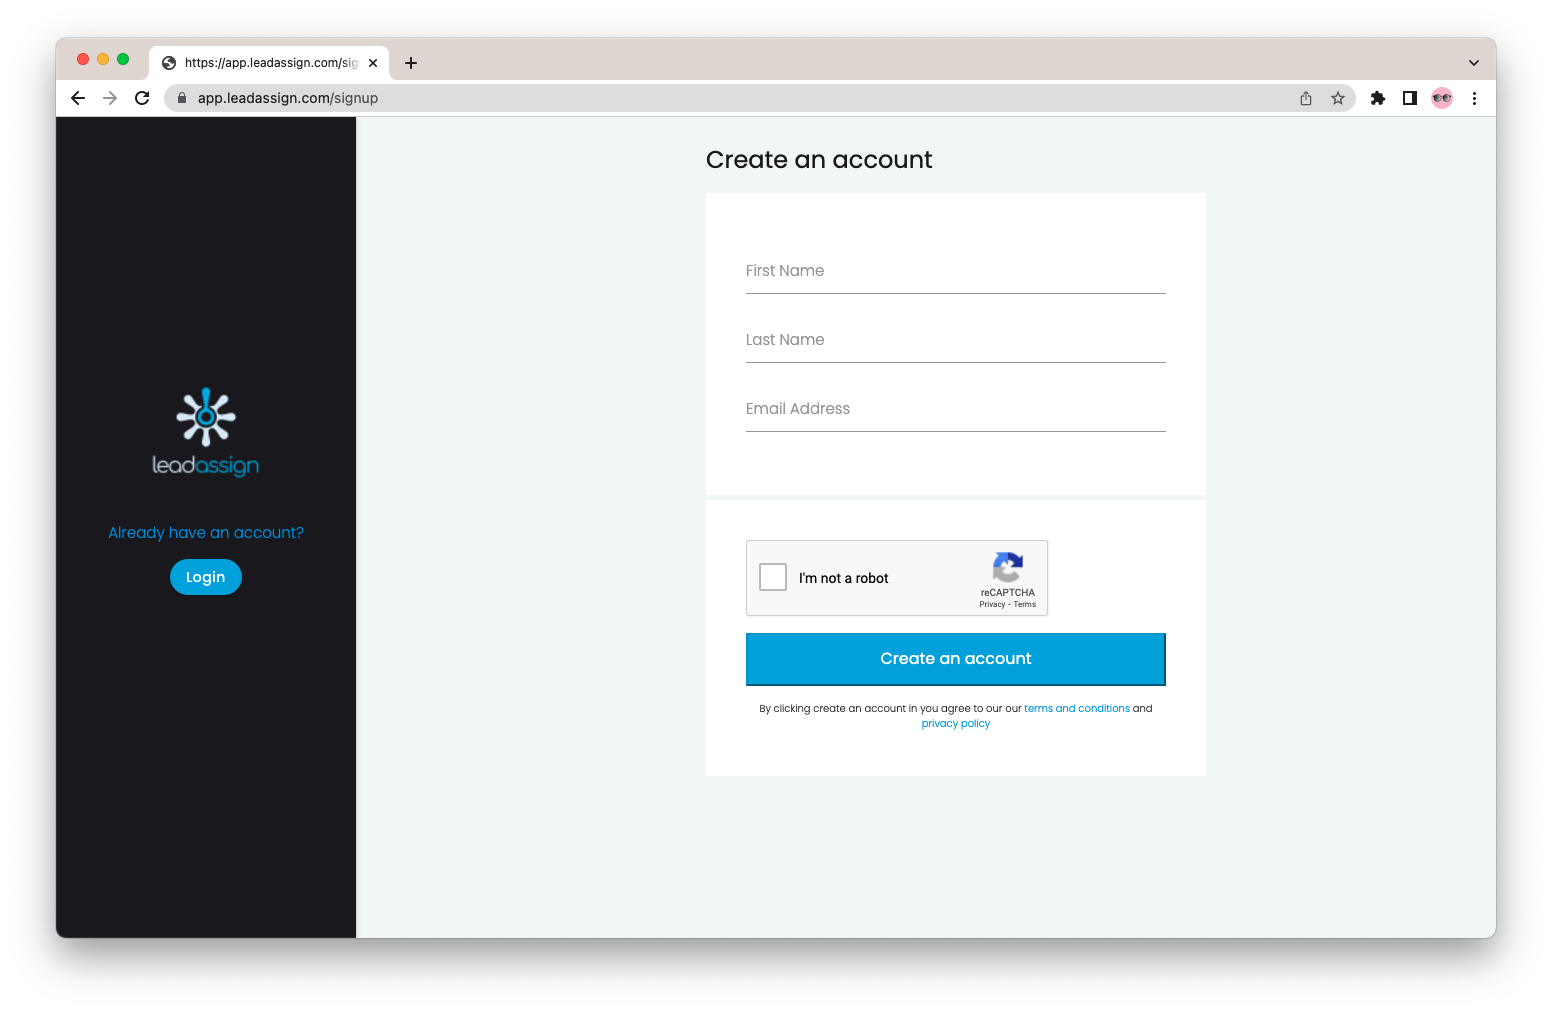
To get started create an account at app.leadassign.com/signup, and fill out the required information.
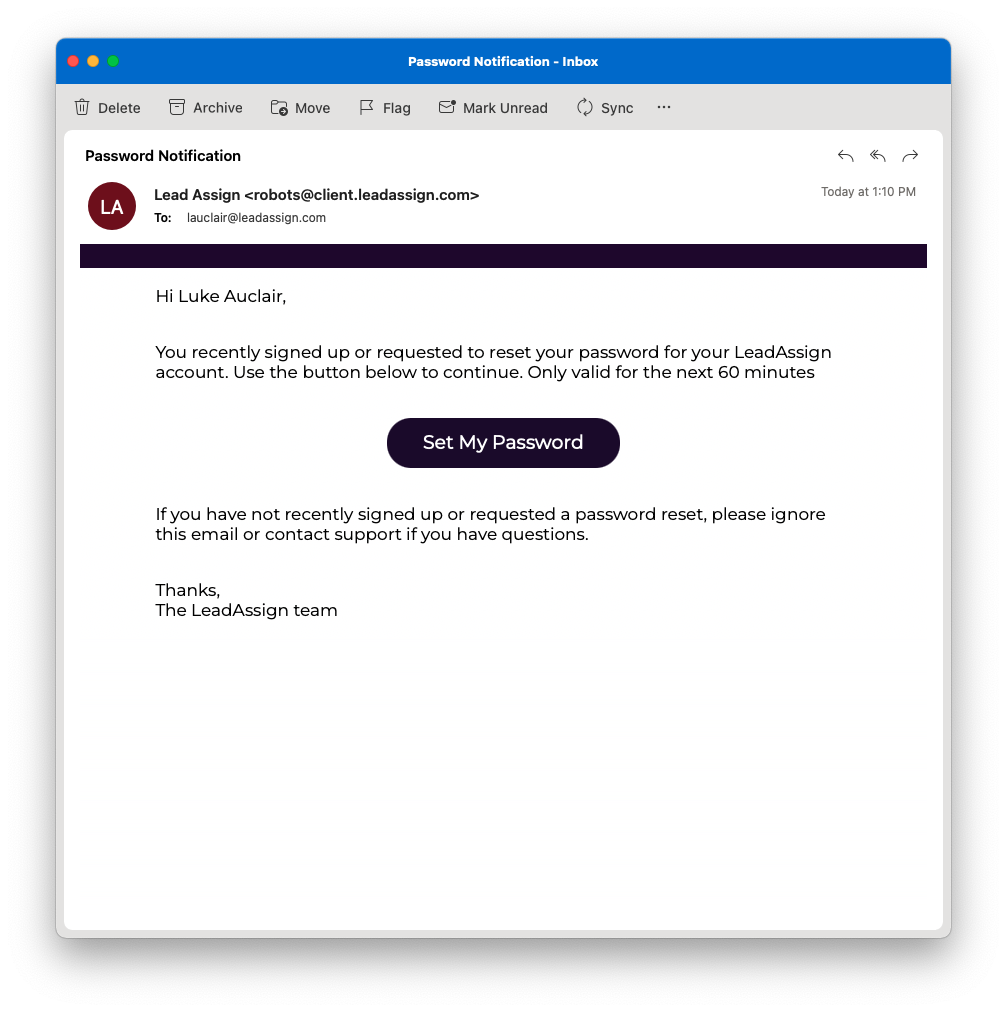
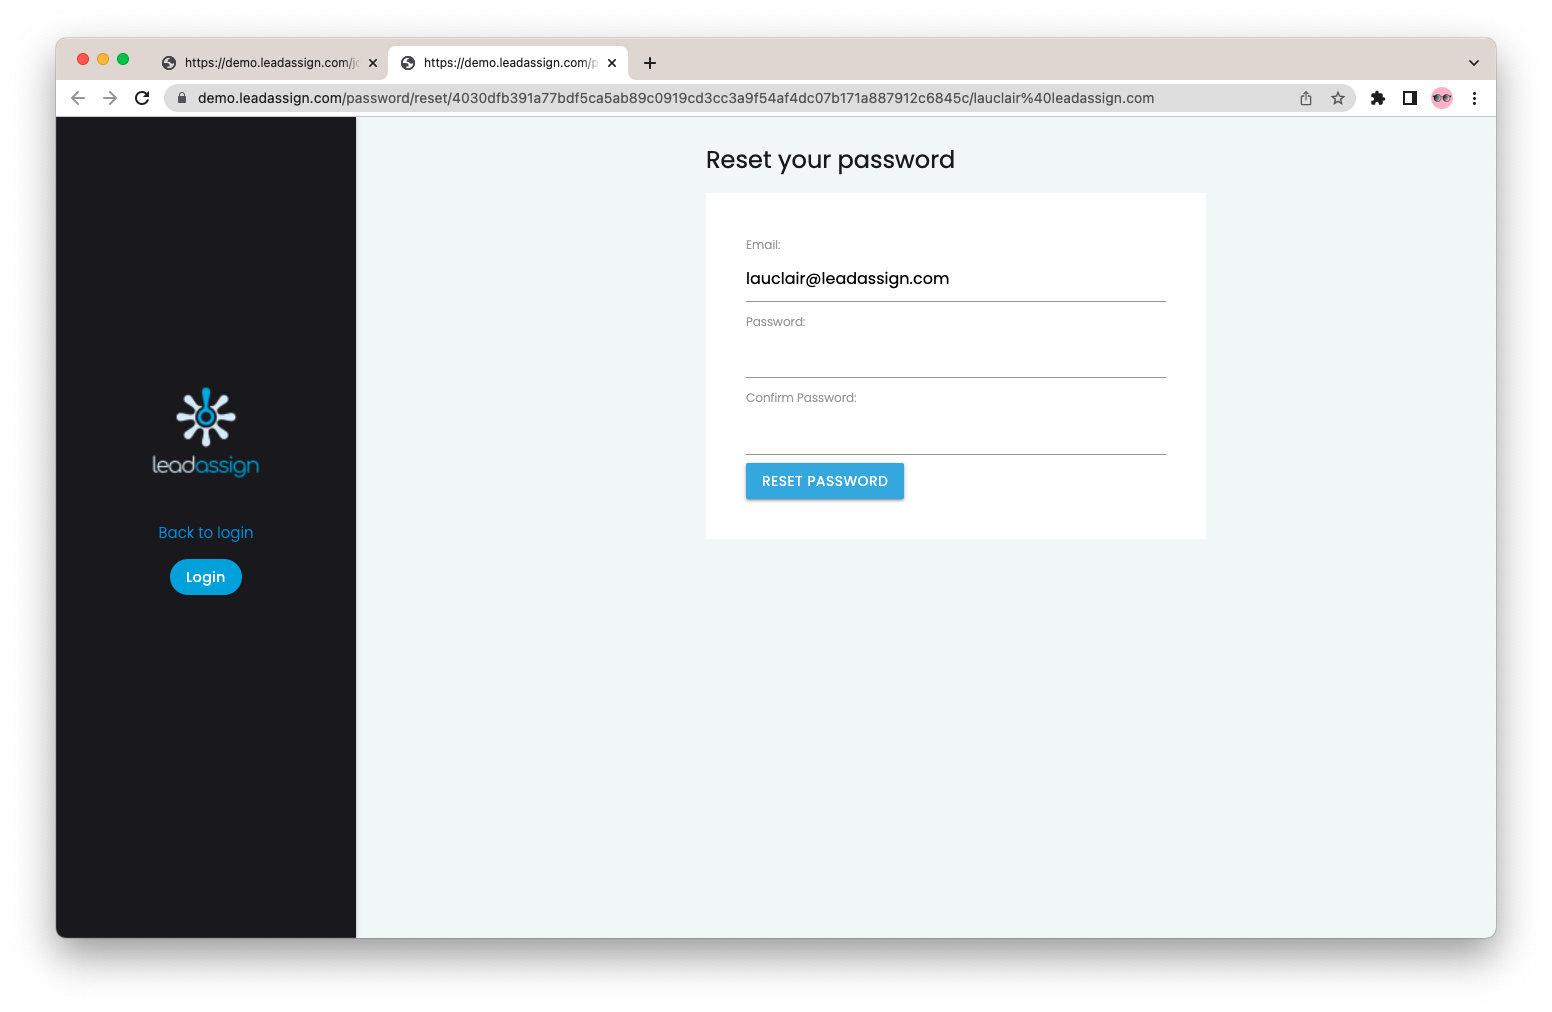
After successfully submitting the “Create an account” form you will be sent an email to confirm your address and set your password. Choose a secure password.
Note: Your password must include 8 characters, both capital and lowercase letters, and 1 number or special character
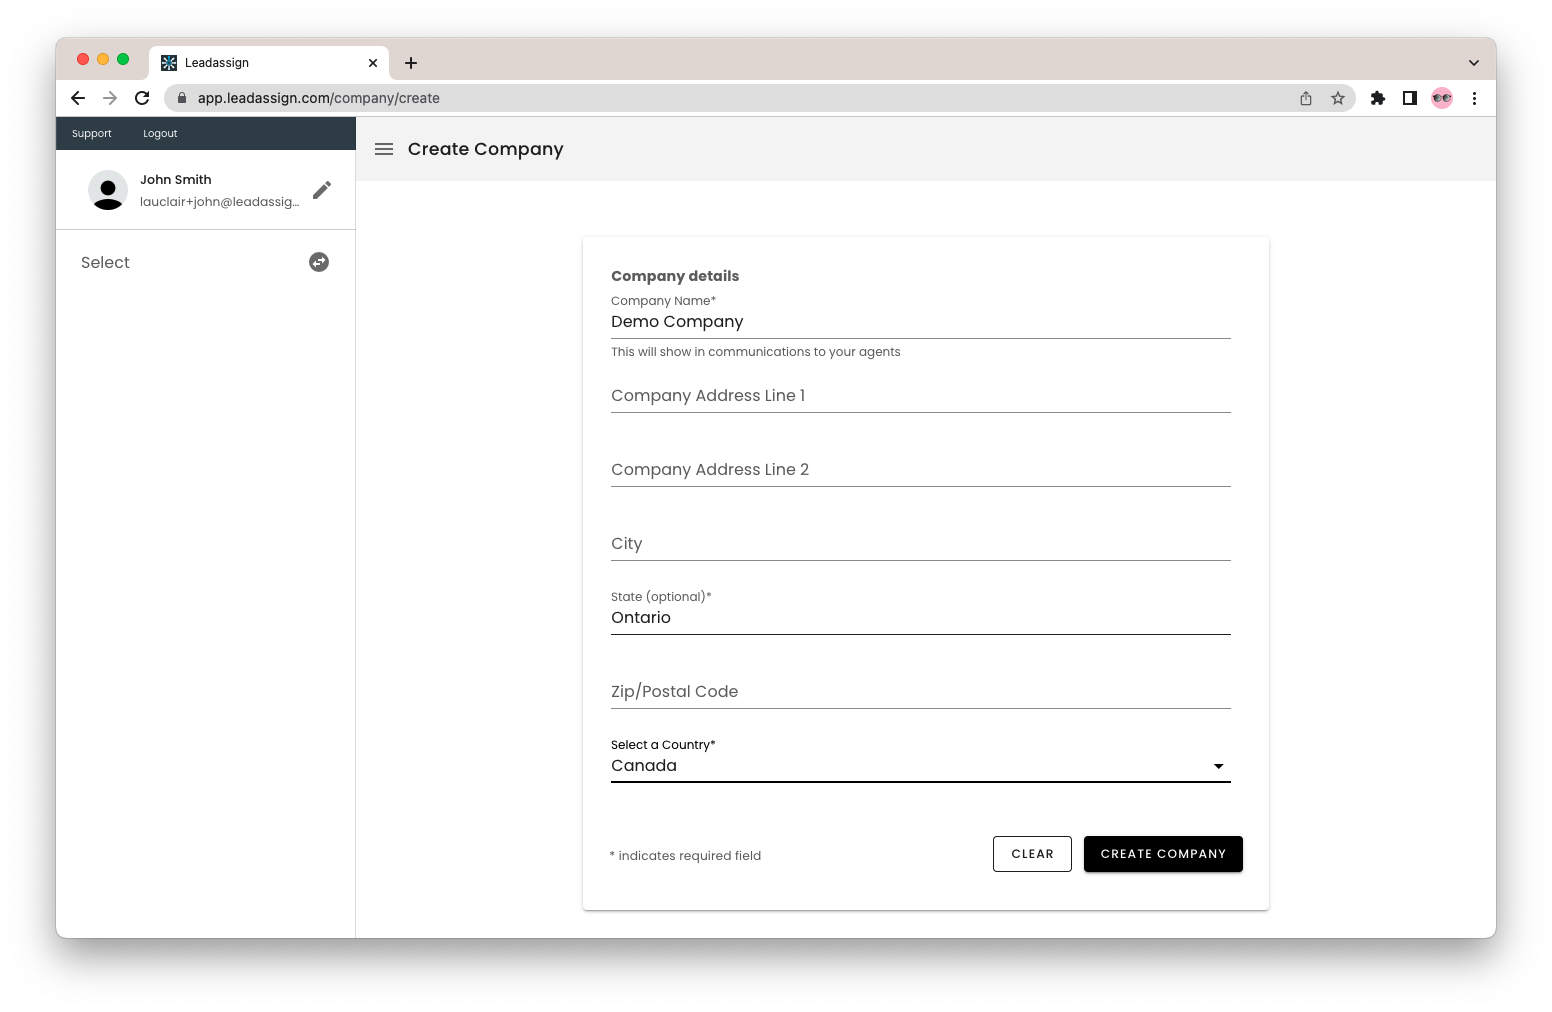
Company Name, State/province, and Country are the only required fields, but filling all the fields may save time later.
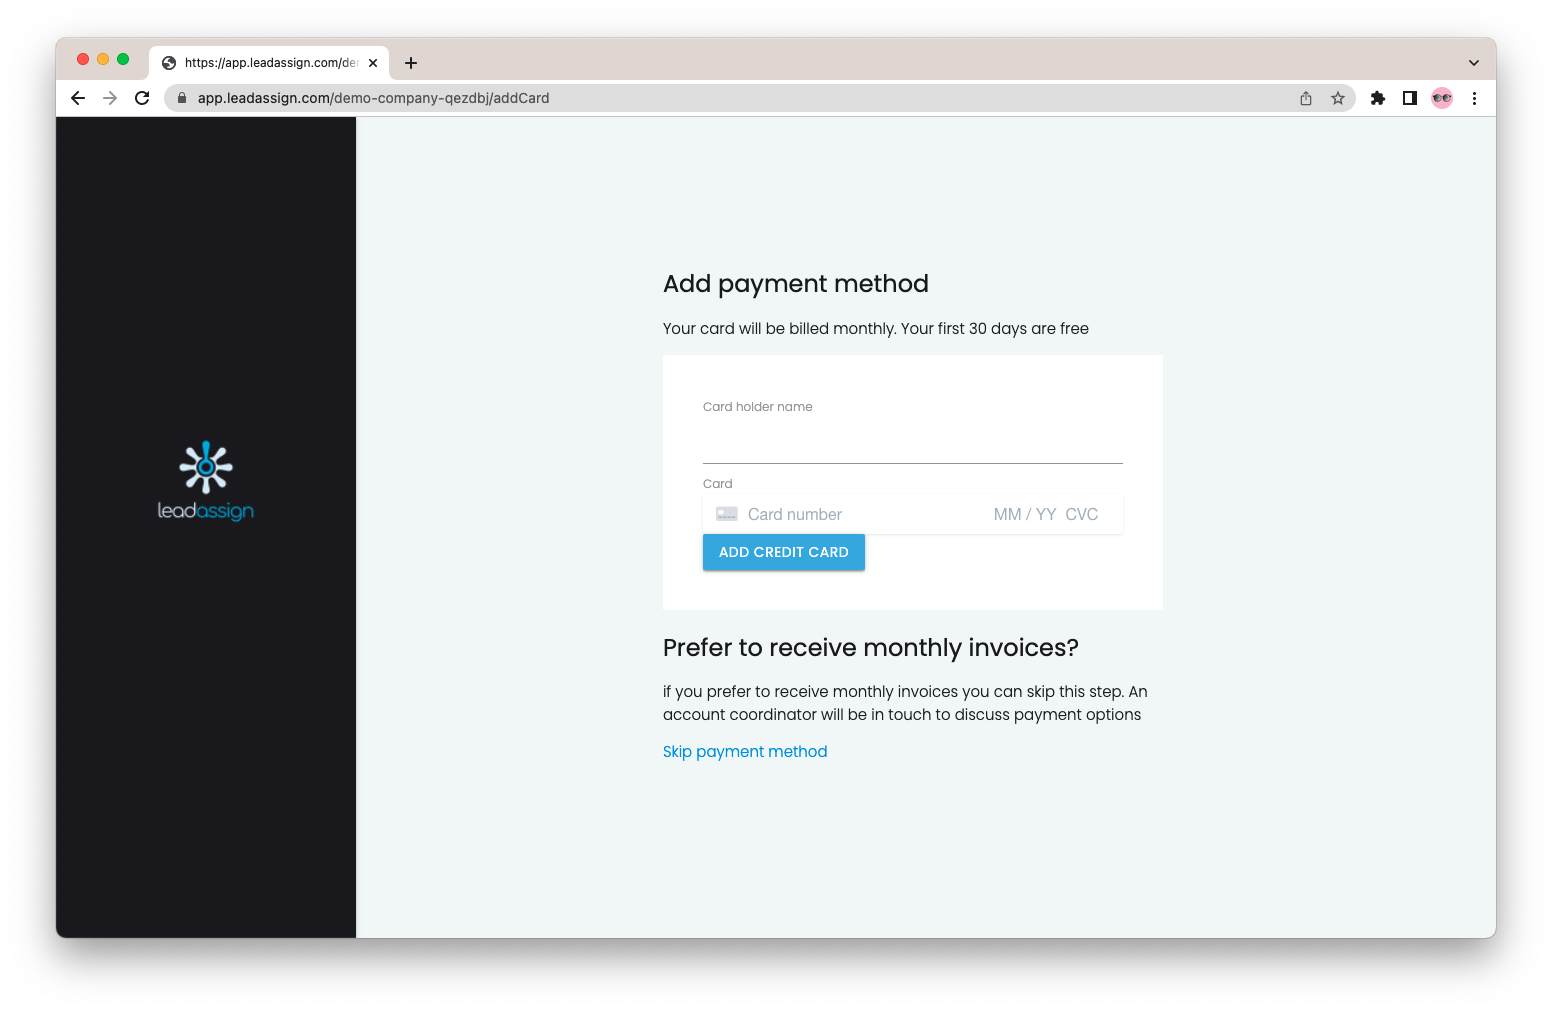
The final step is entering your payment information.
Adding Users
Now that We have our company its time to start adding users
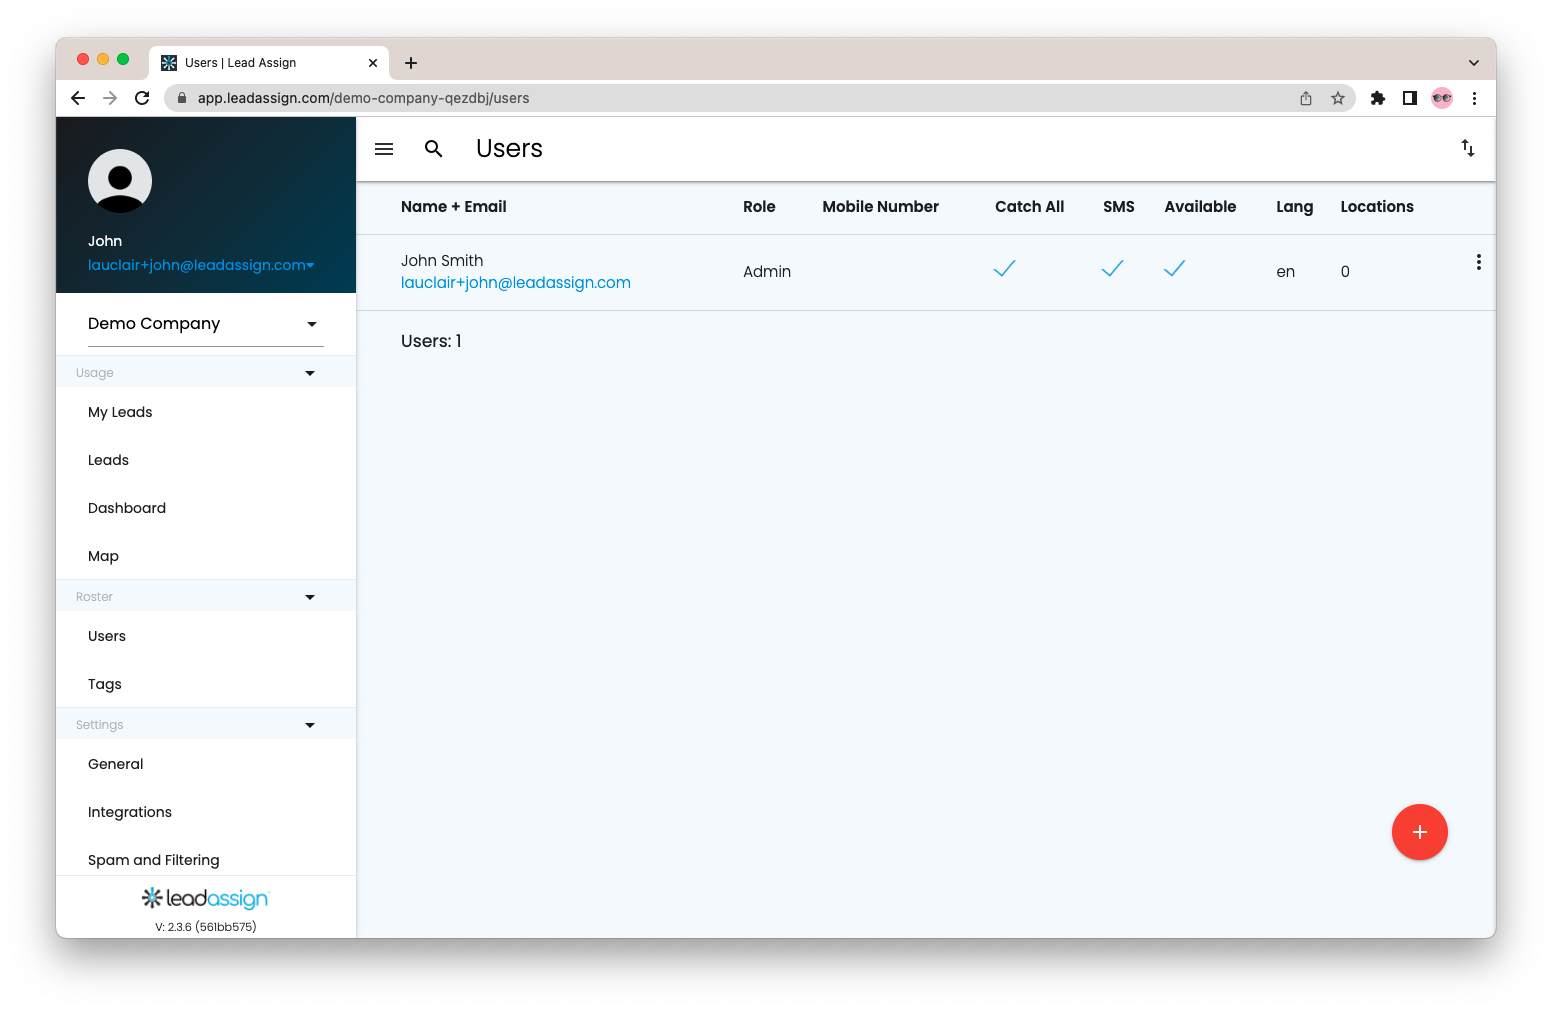
Click the “Users” tab in the left hand sidebar. you can click on an existing user to edit their profile information, or click the red plus to add new users.
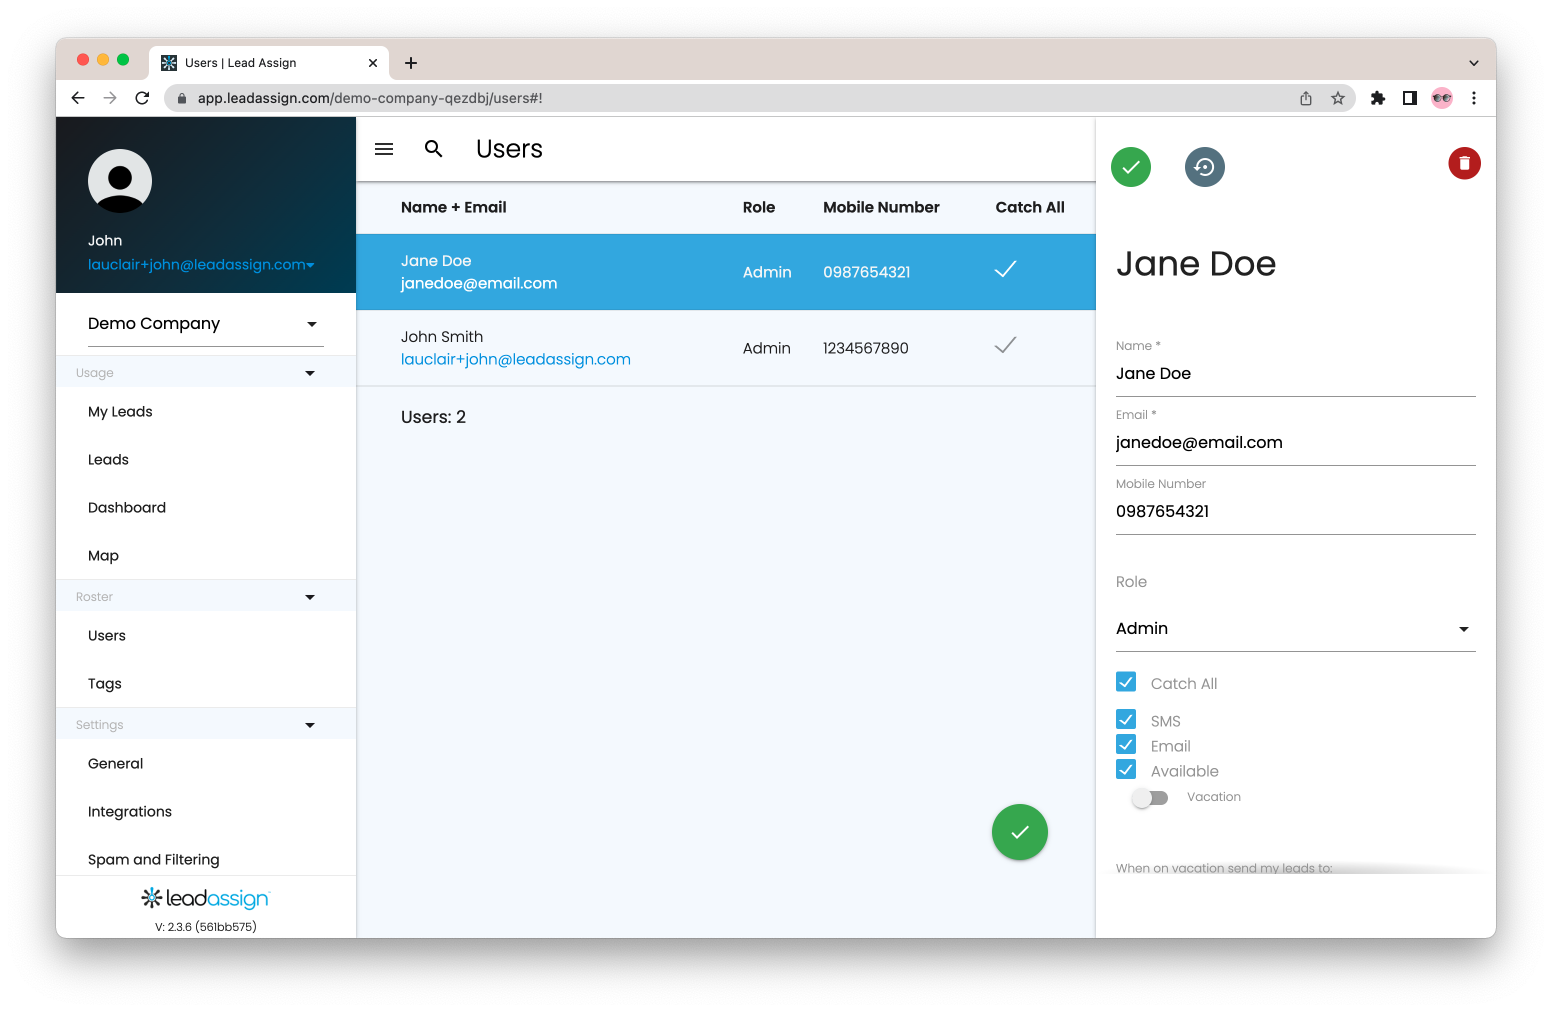
The user form will pop up on the right side of your screen.
wether editing a user or adding a new one the first step is to add a name, email, mobile number and select a role.
A users role determines their access permissions, with admin having the most permissions and agent having the least. for more information click here.
seen in the bottom right are used to determine a users availability and how they will be notified when sent a lead.
Catch All – will be sent leads that are unable to find a qualified user, or were refused by all qualified users.
SMS – the agent will be sent a text message notifications
Email – The agent will be sent email notifications
Available – when not checked the user will not be considered for leads
Vacation – when on the users leads will be sent a designated user
scrolling down you will find more user options.
Lang – select a users preferred language
Forward Accepted – An email address that will be sent leads accepted by the user
External Label – another way to identify an agent ie. Company ID
In the Add tag field you can add tags to the user. More on tags later
Note: click the green check to save, the grey arrow to revert changes and the red trash can to delete a user
Finally you can set locations by opening the locatrions map
To add a location for a user open the locations map. Enter an address and select an operating Area Radius.
Users with locations matching a lead will be more likely to receive that lead.
Change the weighting of the the location in settings
Tags and Lead Routing
Tags are a powerful tool to differentiate incoming leads and determine what agents qualify. Visit the tags tab in the left sidebar to begin.
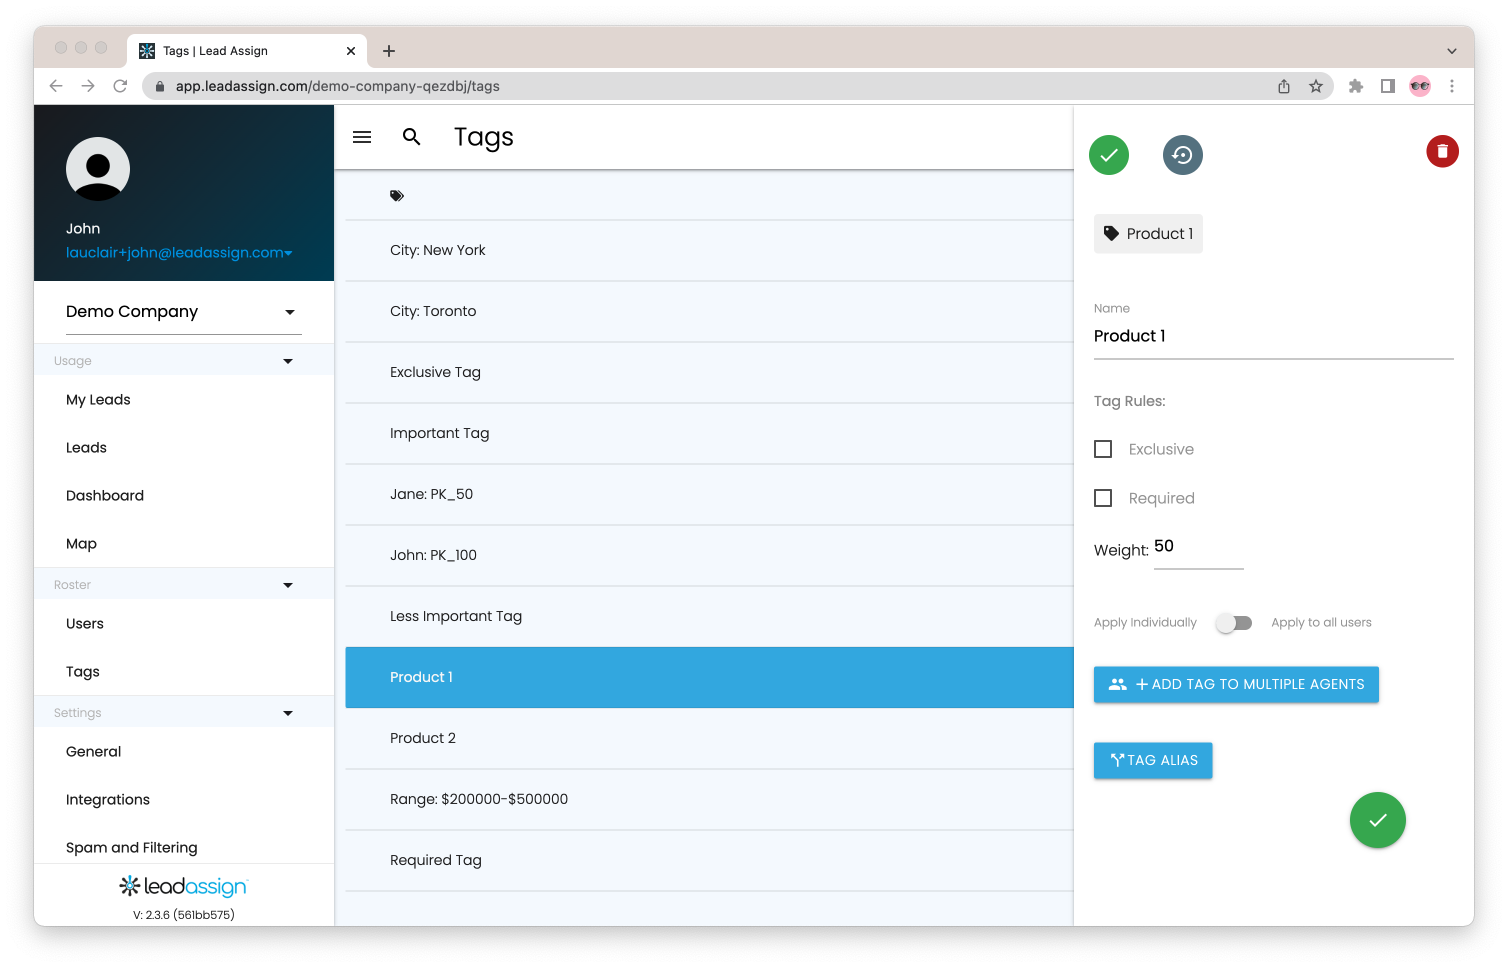
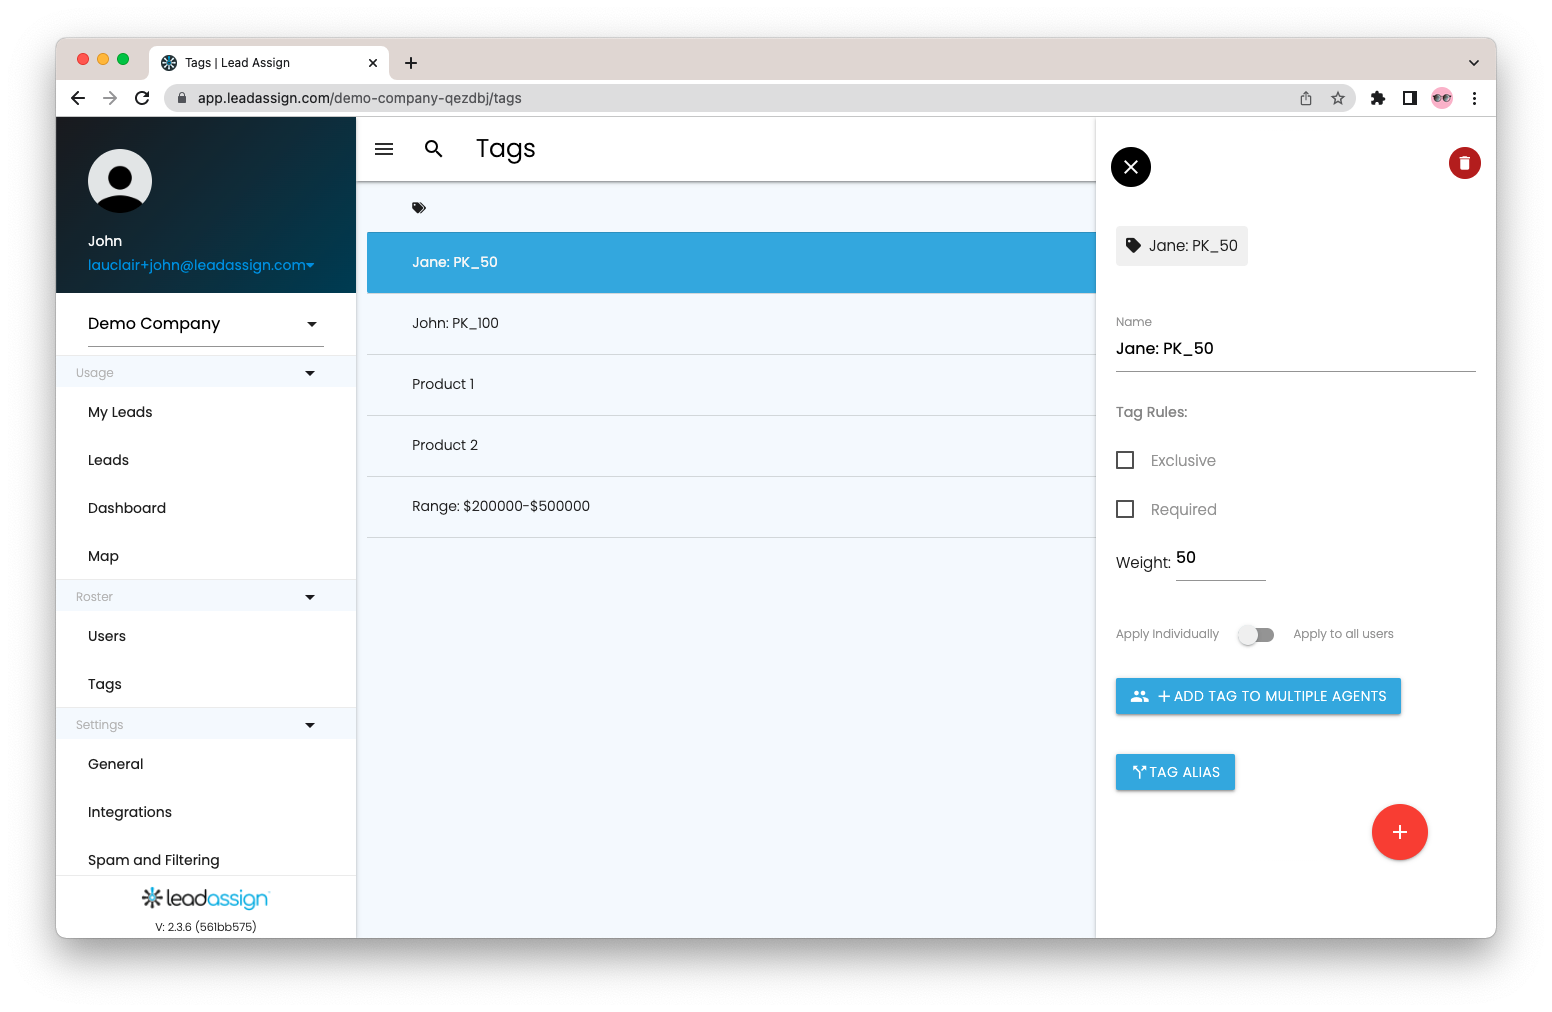
Click on an existing tag to edit or the red plus in the bottom right to add a new tag.
For basic tag functions, add a tag name and assign the tag to the users you want to receive those leads.
You can assign tags to users by using the add tag field on the users form, by clicking the “+ ADD TAG TO MULTIPLE AGENTS” button, or click “Apply to all users”
Our intelligent lead parser will search incoming leads for your tag names and give preference to users that match those tags.
Click the green check to save, the grey arrow to revert changes or the red trash can to delete the tag
For more complex tag functions you can implement exclusive tags, required tags, and change tag weighting.
Exclusive Tags – Agents must match with at least one Exclusive Tag to be eligible for the lead.
Required Tags – Agents must match ALL required tags to be considered for the lead.
Increasing tag weighting will make matches for that tag more important
Note: Think of Exclusive Tags as “OR” functions and Required Tags as “AND” functions.
If a lead comes in with multiple Exclusive Tags, the system identifies agents who match with “Exclusive Tag 1” OR “Exclusive Tag 2”.
If a lead comes in with multiple Required Tags, then the system identifies agents who match with “Required Tag 1” AND “Required Tag 2.”
Range tags can be used to identify leads qualities that fall into a specific range, like price range or zip code range.
Range tags names should begin with “Range: “. to set a tag that should be triggered between $200,000 and $300,000 use the format “Range: $200000-$300000”.
Note the $ should be included to avoid mistaking phone numbers as $ values.
The Lead Assign platform offers the capability to adjust agents’ pecking order by adding a “PK” tag. This way, the administrator can configure leads to flow to agents by pecking order, before by keyword.
To set a PK tag use the format PK_#, replacing # with the desired Pecking value. And assign the tag to users of that pecking status.
Higher numbers will be offered leads before lower numbers.
Billable Tags
In some instances you may want to charge the recipient that accepts your leads. The best way to do this is with billable tags
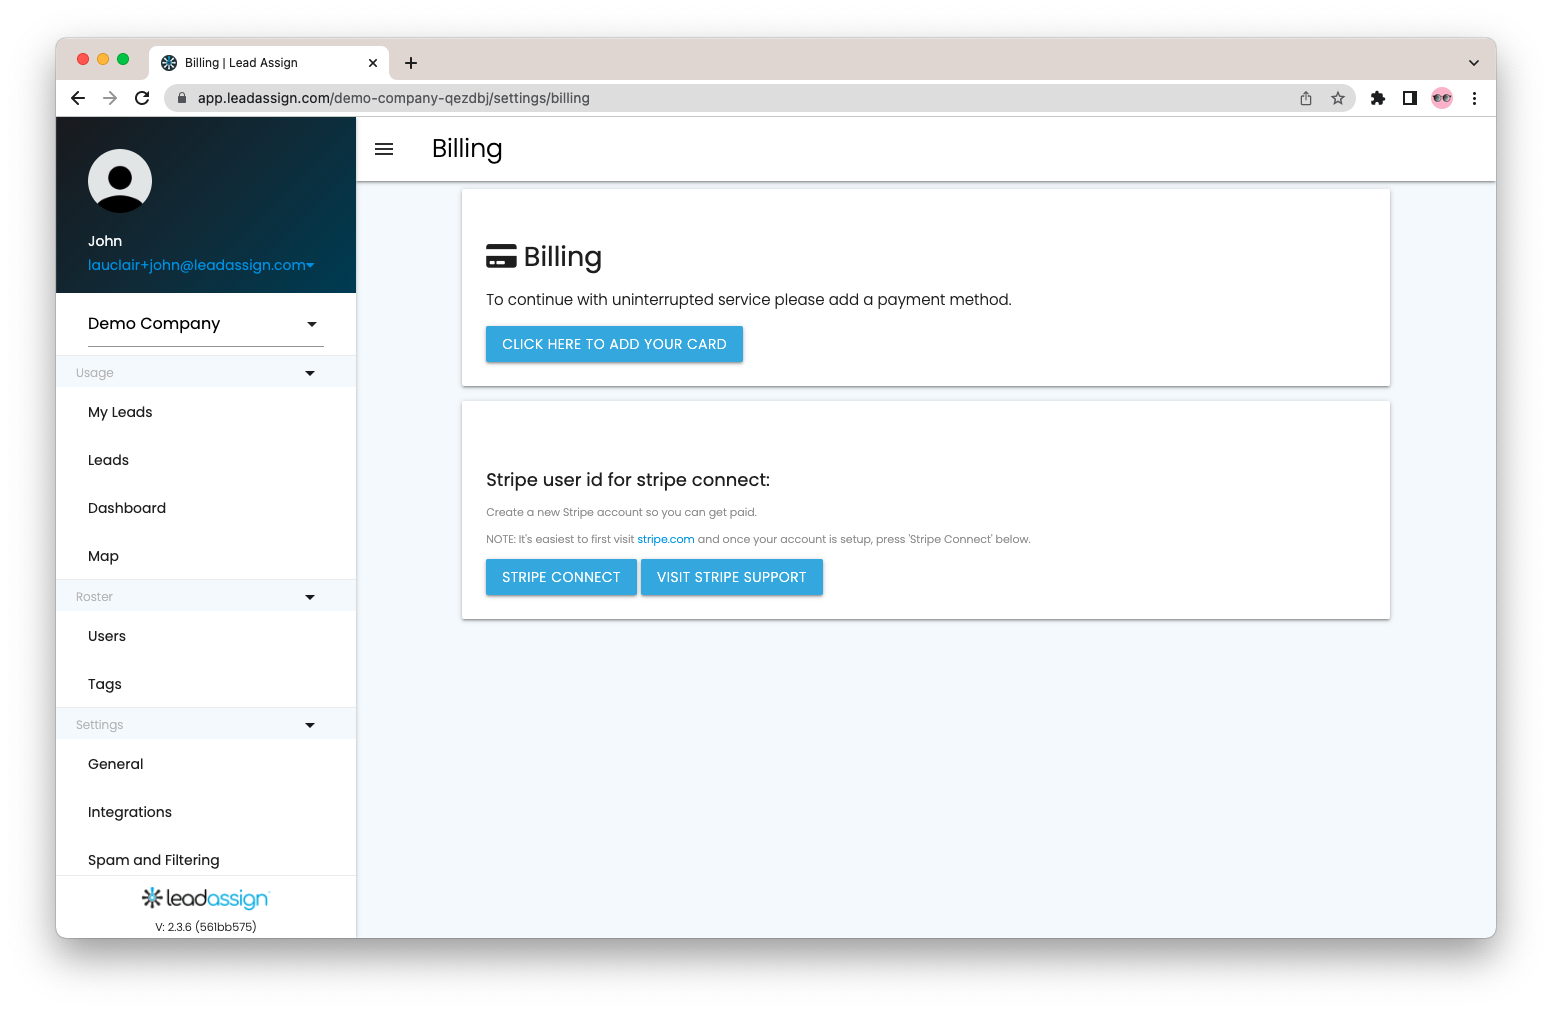
To get started you must first set up a Stripe account. Go to the billing tab in the left sidebar, and click “STRIPE CONNECT”.
Fill out the form with the banking information of the account that will be collecting the funds from these recipients, and connect the account to Lead Assign
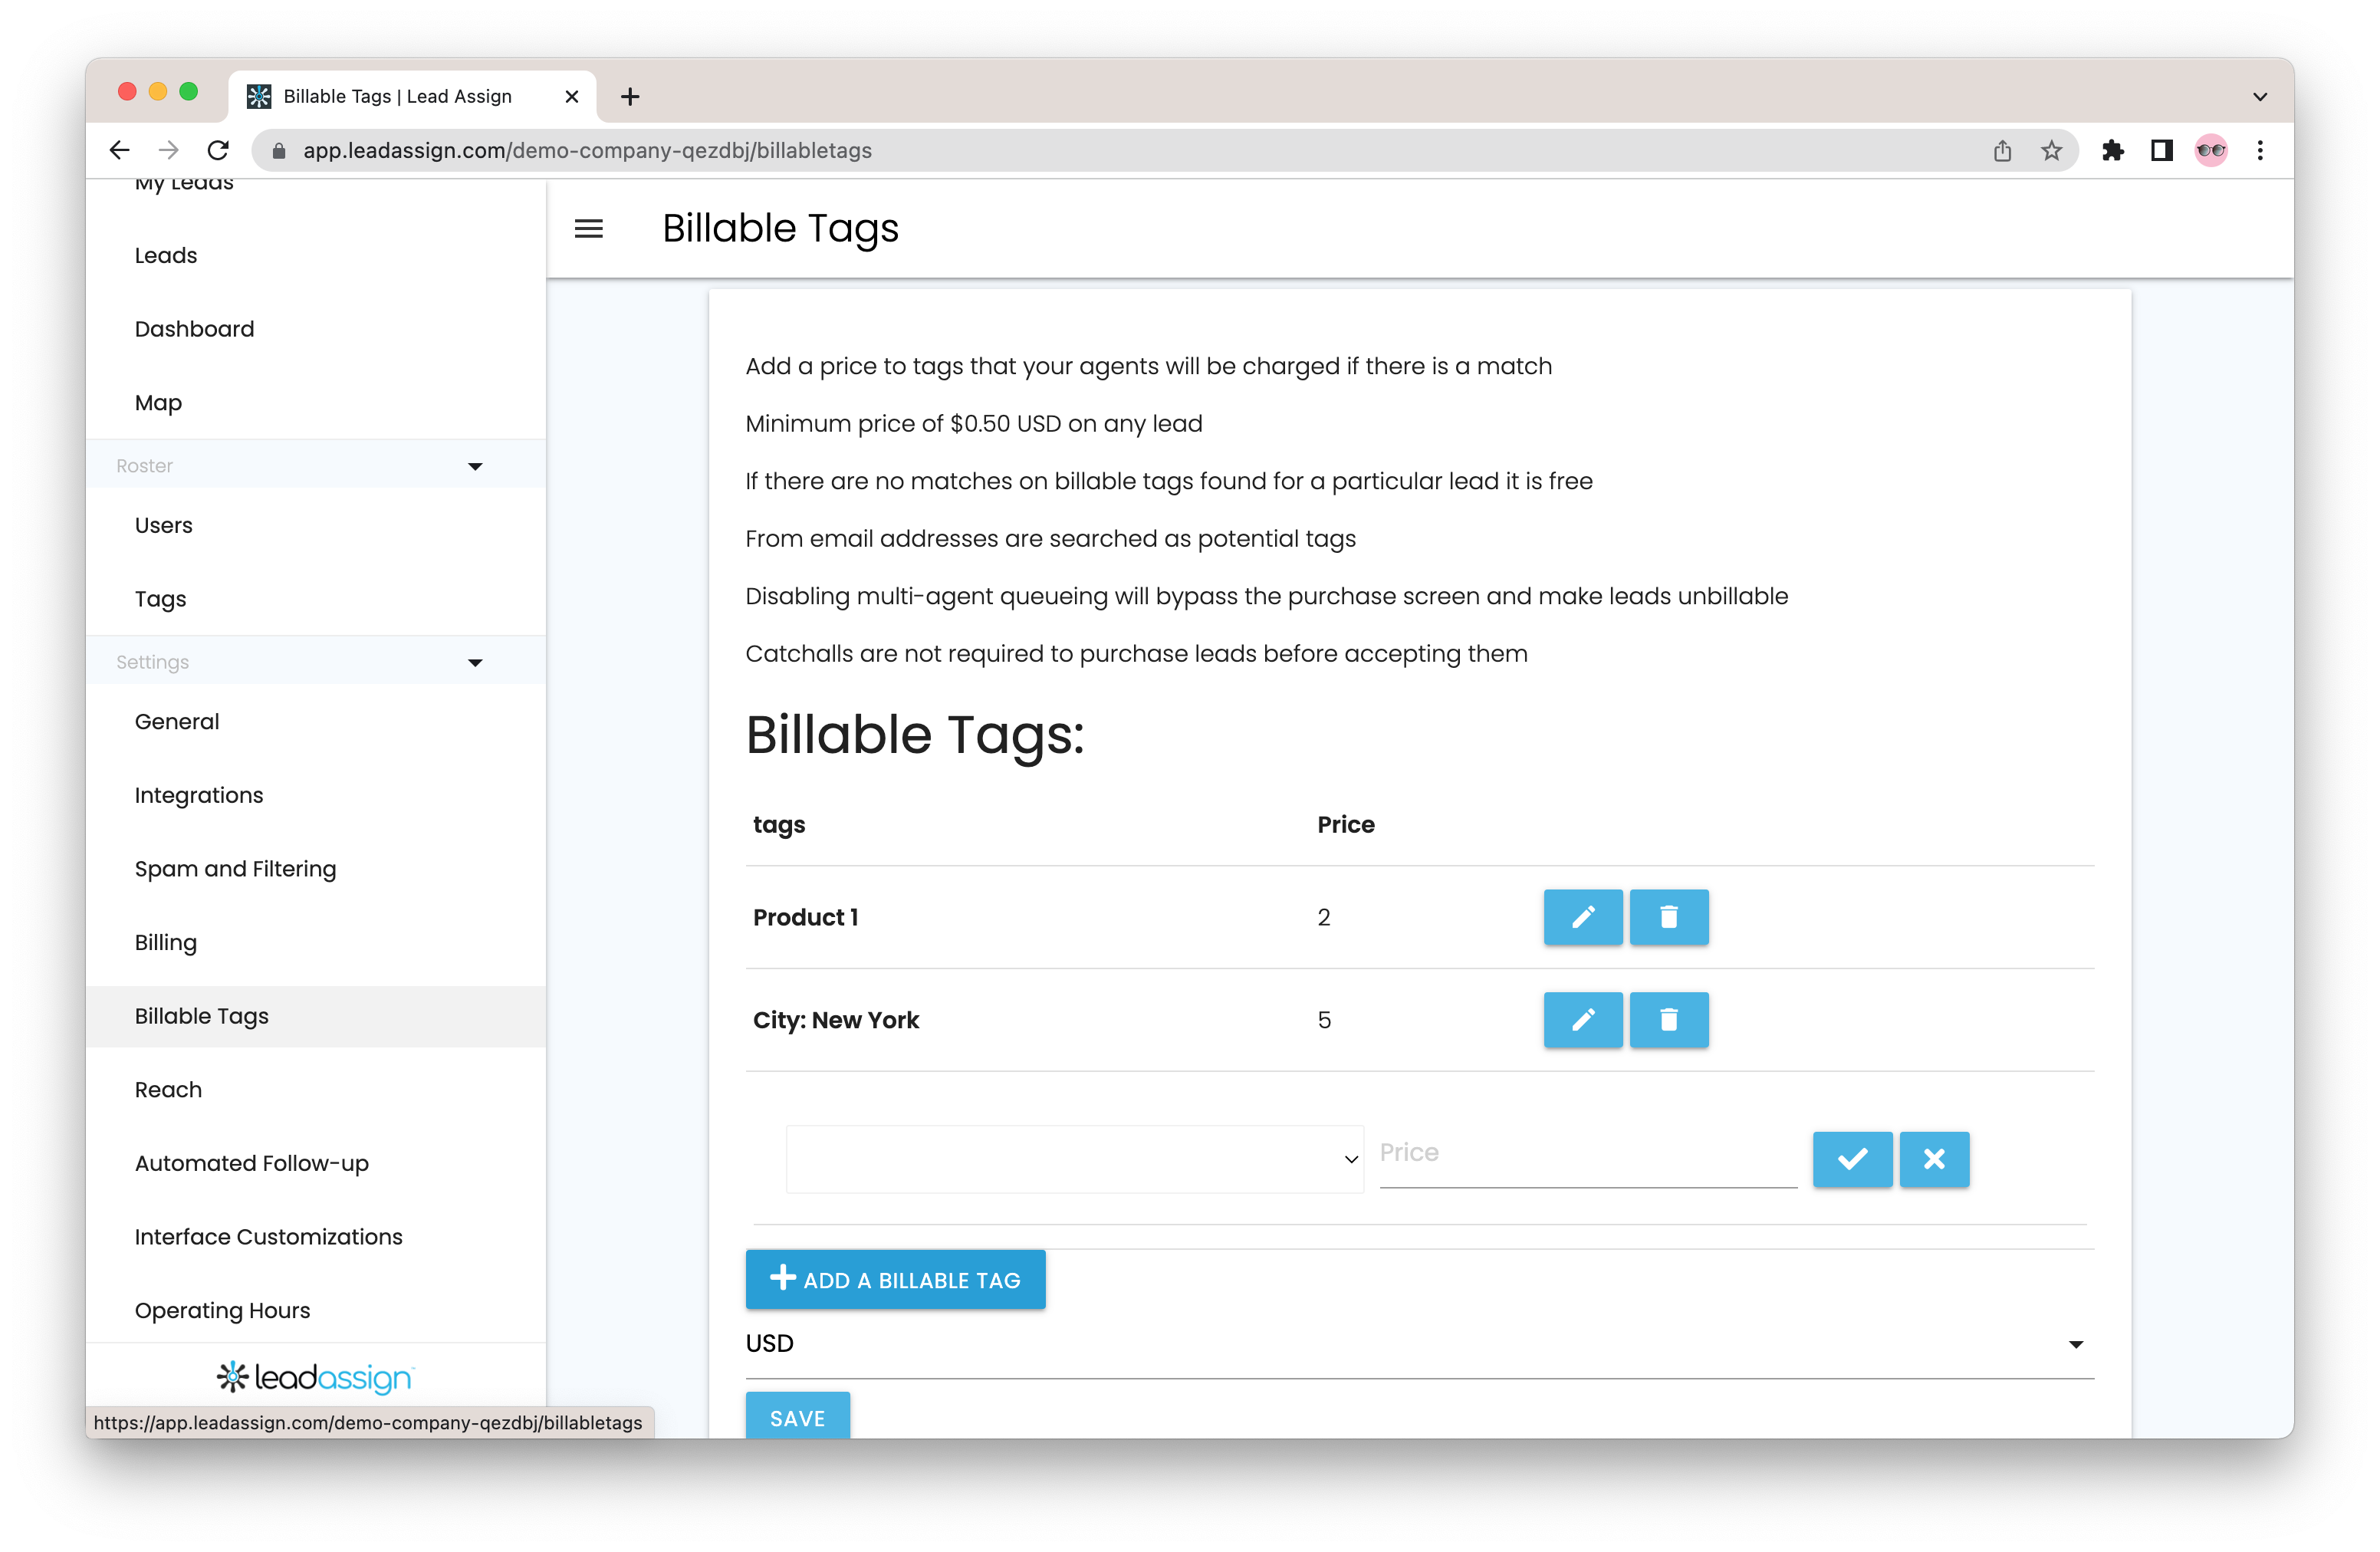
Now that you have set up Stripe Connect we are ready to create billable tags!
Go to the “Billable Tags” tab in the left sidebar. click “+ ADD A BILLABLE TAG” select an existing tag from the dropdown and set the cost to accept a lead.
Click the check to save and the x to exit. On existing billable tags, click the pencil to edit and the trash to delete
Common Settings
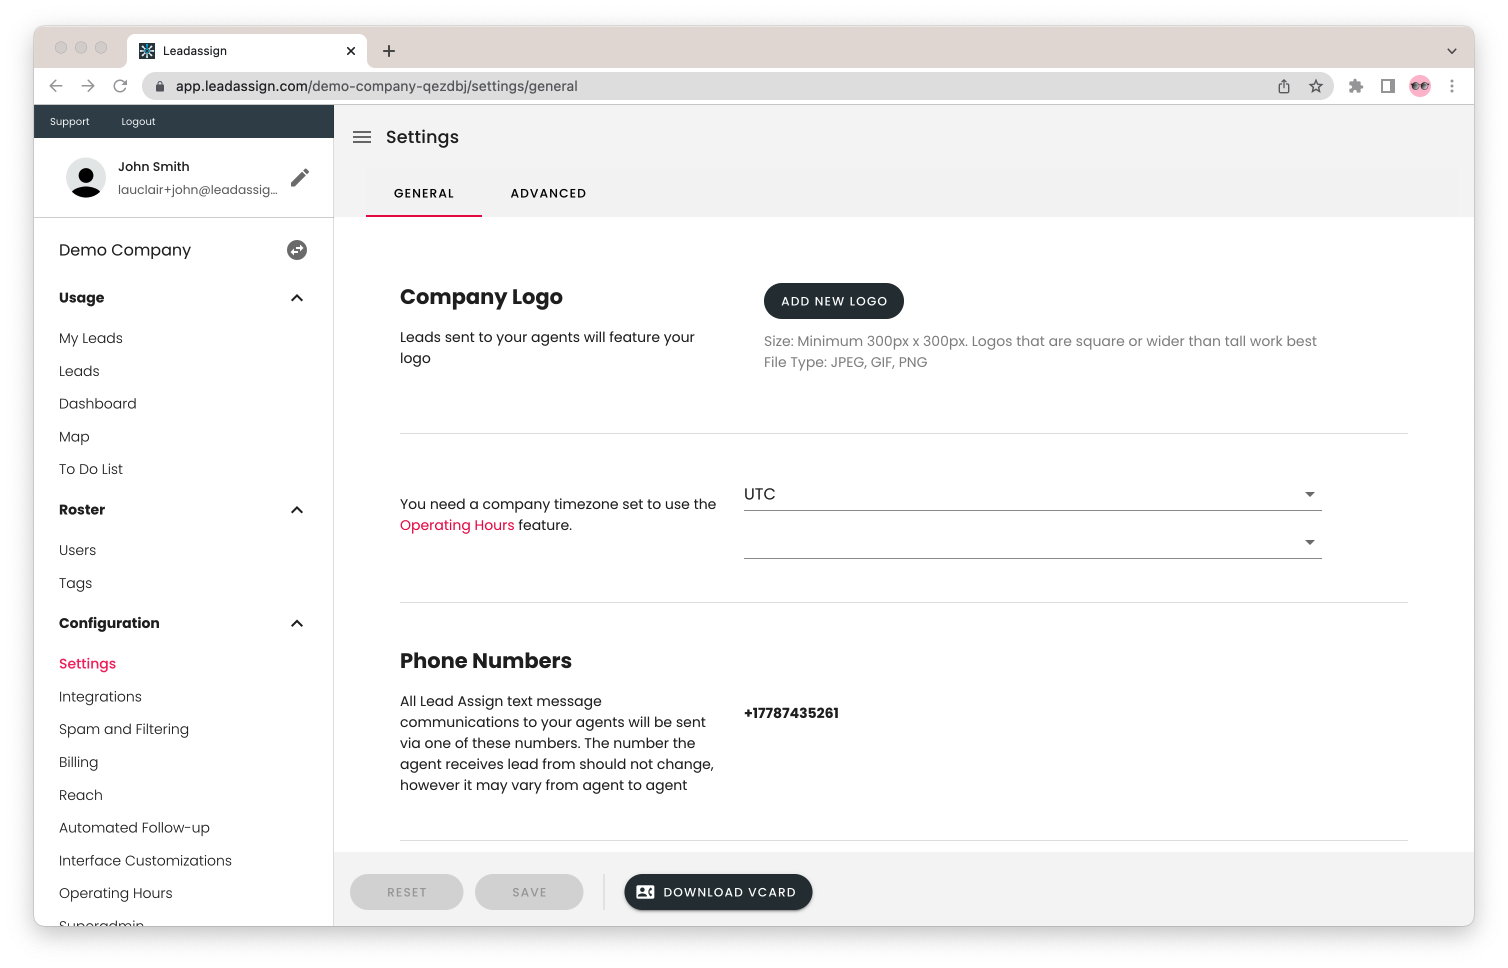
There are many Settings found under the settings tab in the sidebar that can be used to customize Lead Assign and we are a perfect fit for you and your users.
This is a walkthrough of some of the most useful settings. that can be used to for common setups.
Visit our Docs for more information on settings and more
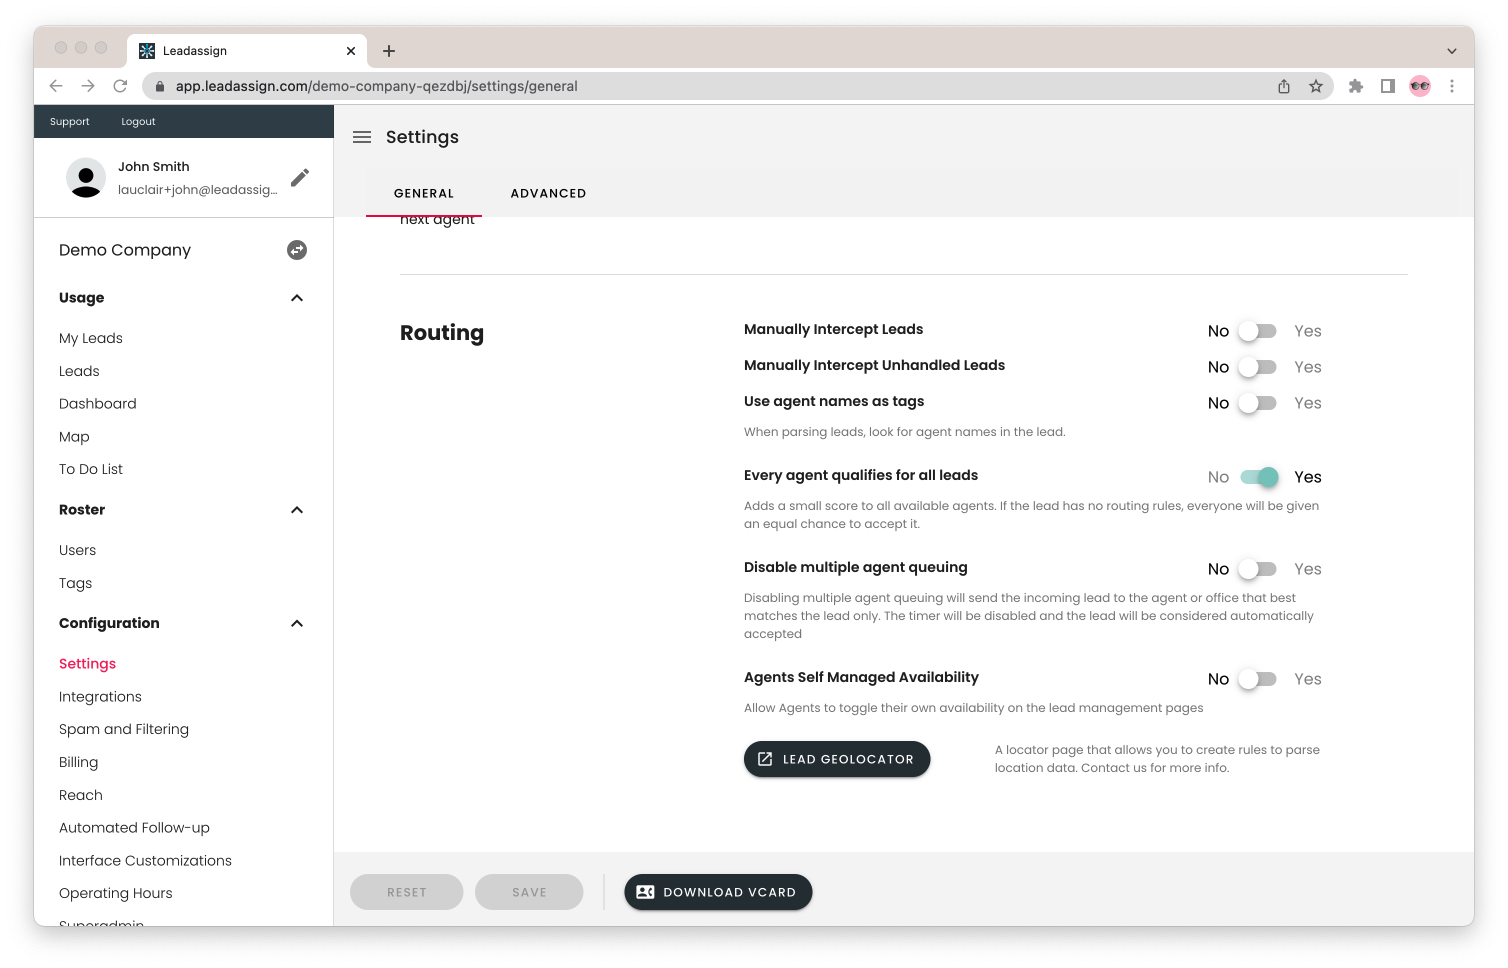
Scroll down on the settings/ general tab and you will find the routing section.
Use agent names as tags – When set to yes our leads parser will search incoming leads for agent names. Useful for when agents are mentioned by name in queries sent to your company.
Disable multiple agent queuing – When set to yes the first agent to be offered the lead will be given the lead automatically. Overriding the queue, lead acceptance, and any billable tags.
Lead Geolocator – change the Geolocator weight to change the importance of an agents location
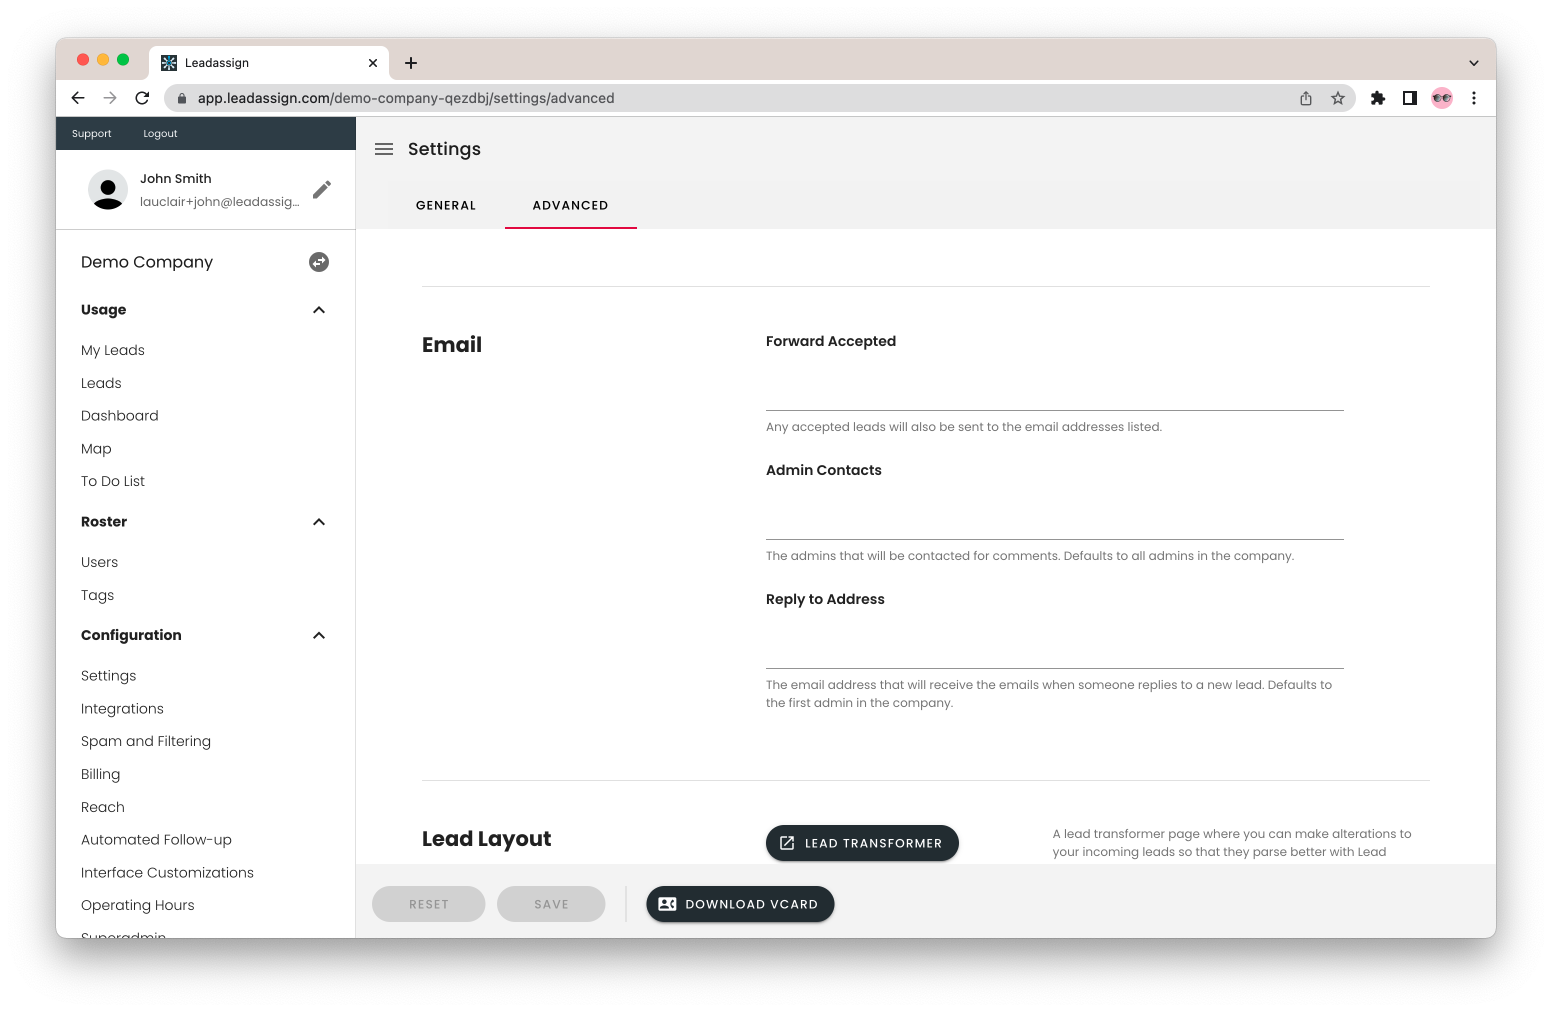
Visit the Advanced tab within the Settings tab and you will find the Email section.
Forward Accepted – Email addresses listed in this field will be sent a duplicate of the lead on accept.
Admin Contacts – a list of admin email addresses that will be contacted when agent add notes to a lead. Defaults to all admins in the company.
Reply to Address – The email address that will receive the emails when someone replies to a new lead. Defaults to the first admin in the company.
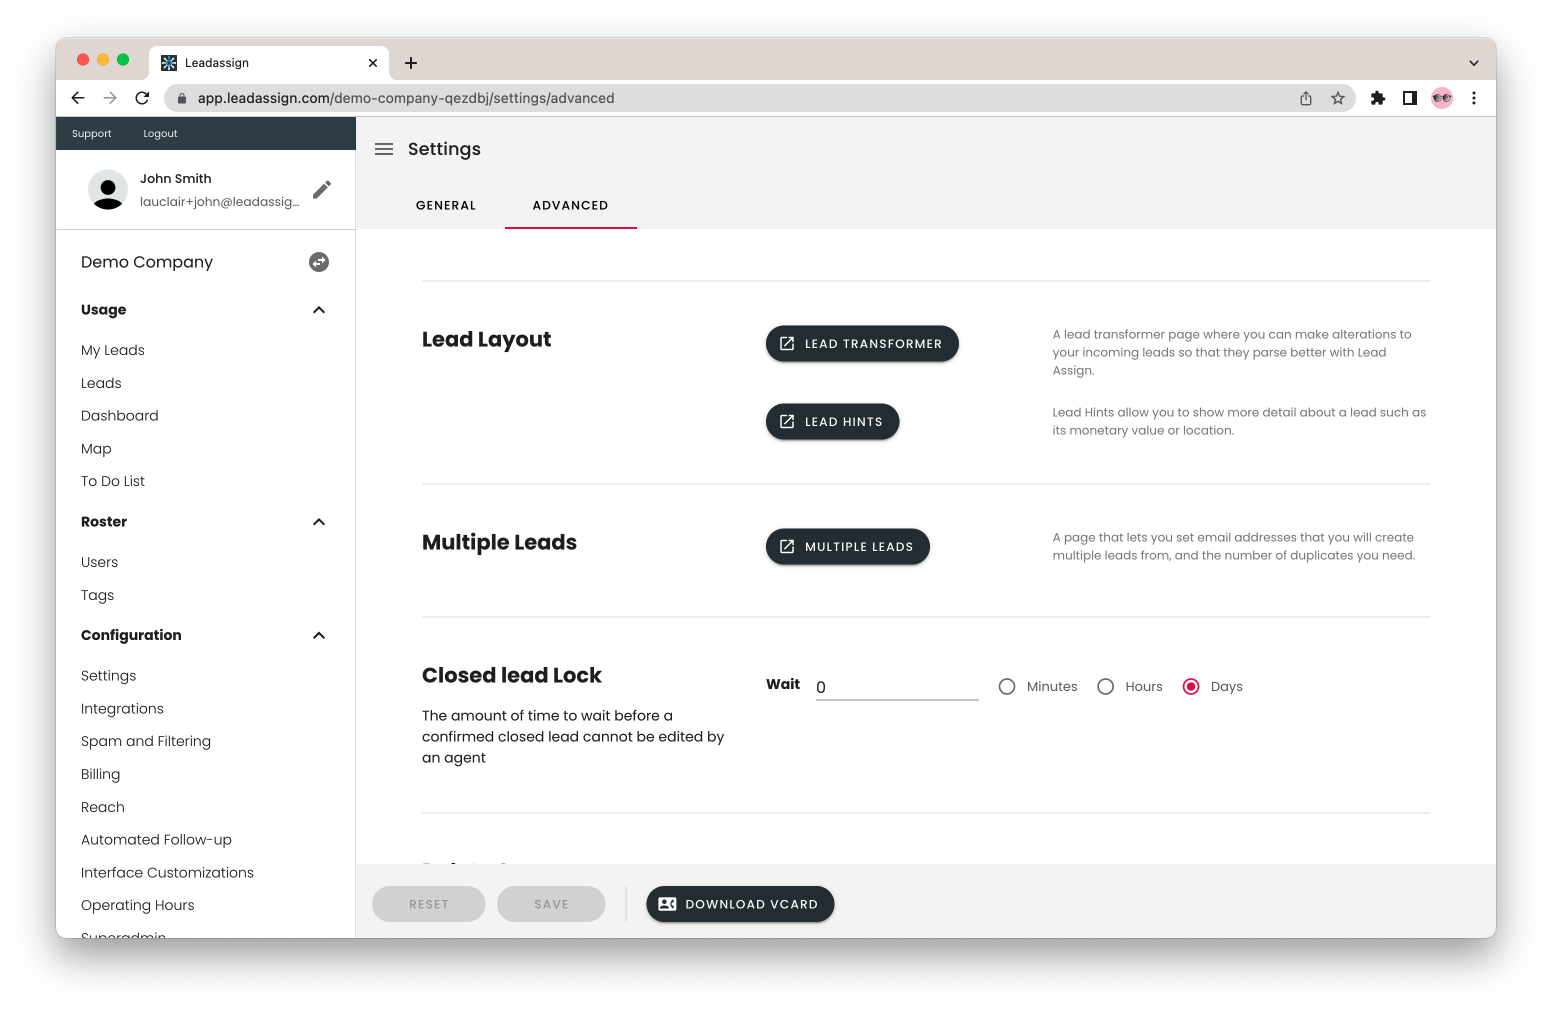
The Lead Transformer and Lead Hints both take advantage of regular expressions or regex.
Lead Transformer – Will parse incoming leads using specified regex and replace with your given value.
Lead Hints – Will parse incoming leads and display given value in lead offer email.
If you are not familiar with regex contact support for assistance.
Adding Leads!
Now that our company is set to our likings its time to start sending leads to our sales team!
There are three ways to add leads. The first and most common is the email endpoint. Yours can be found by visiting the Integrations Tab on the left sidebar, under Email Endpoints.
This email address can be added to forms so leads are posted automatically when a form is submitted. You can also send emails to this address to add leads manually.
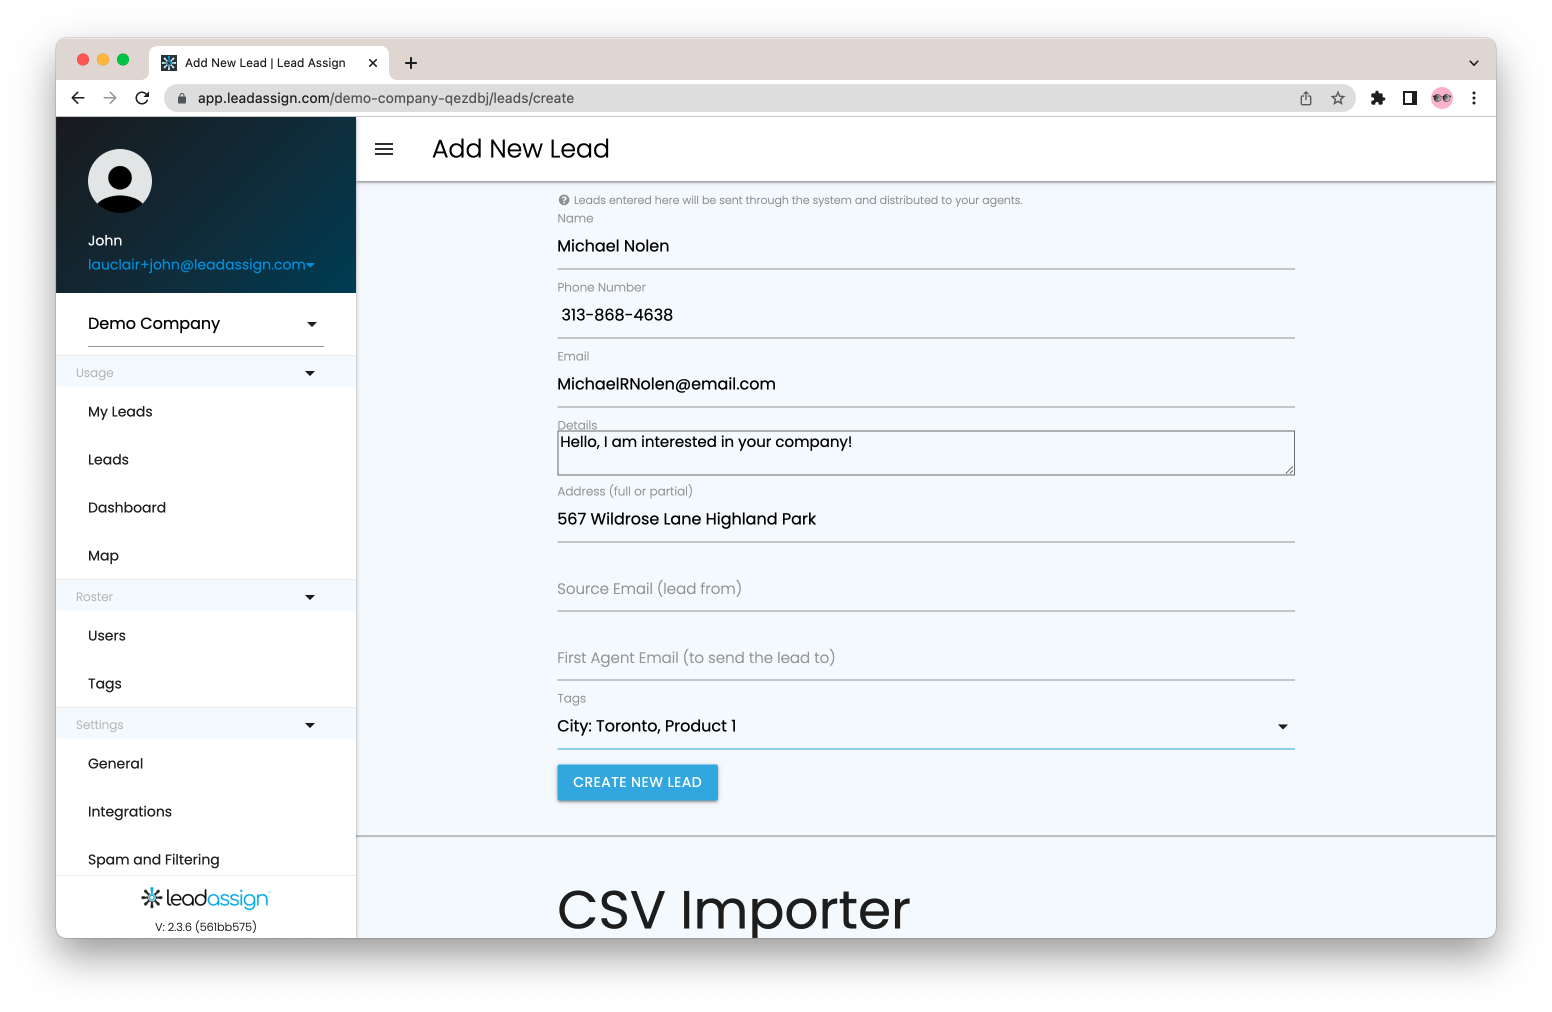
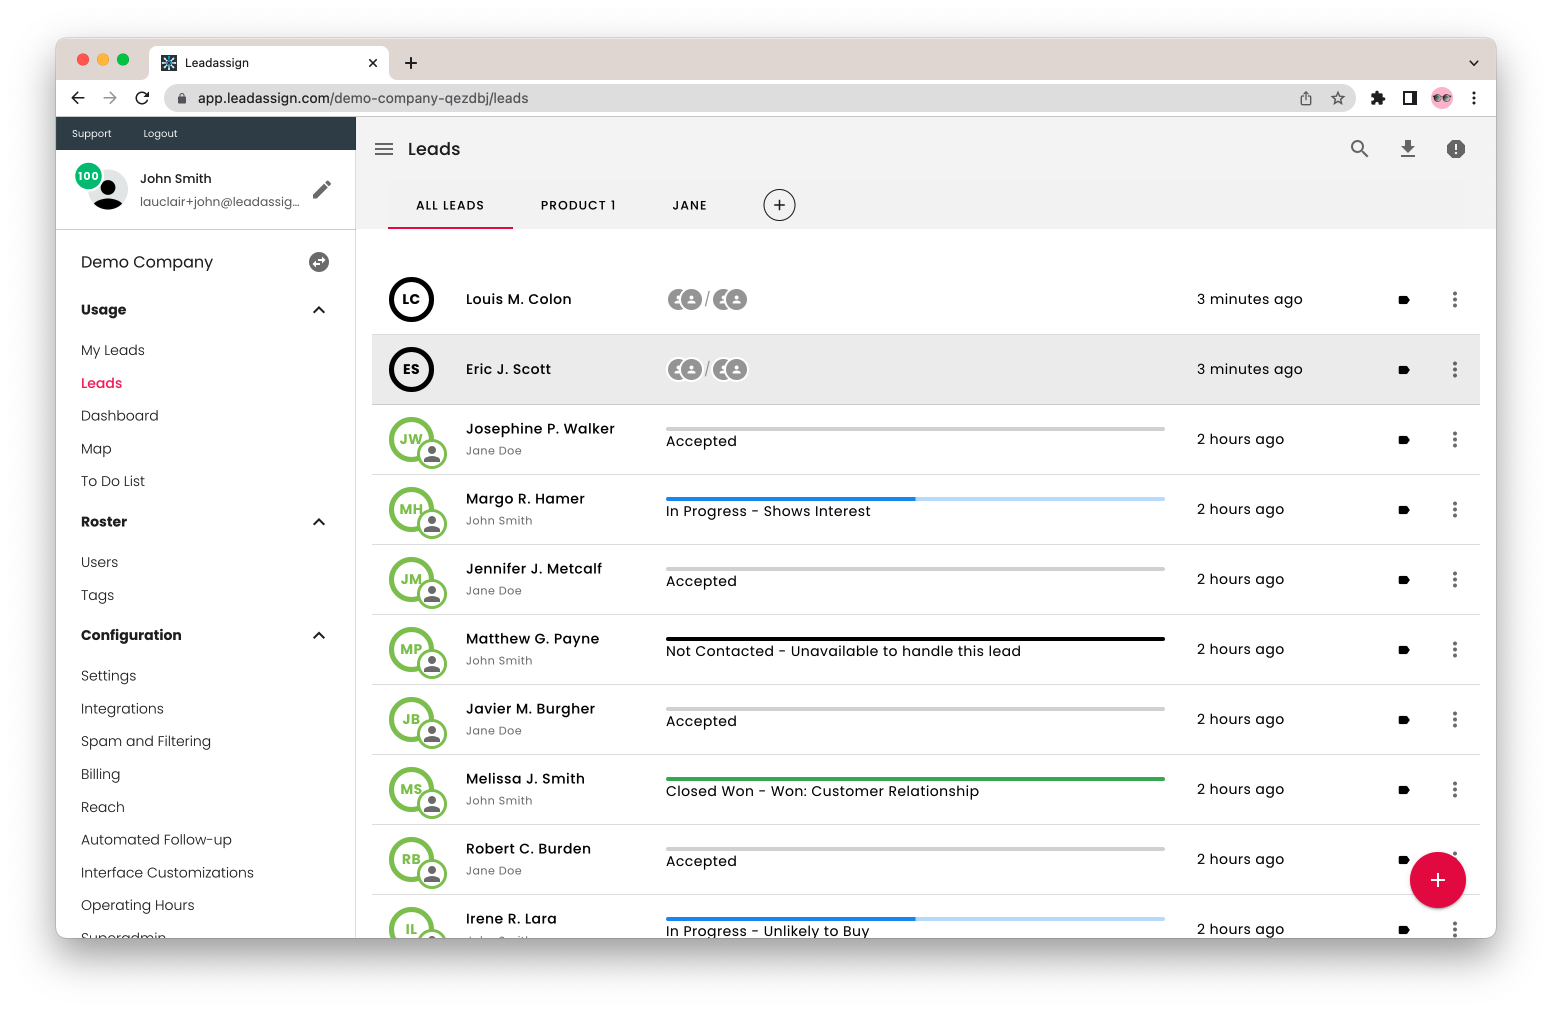
The Second method is using the “Add New Lead” form. Go to the Leads tab, click the red plus in the bottom corner, and add lead details manually.
Any extra lead fields you want to include can be included in the details section.
To manually add many leads at the same time you can import a CSV at the bottom of the “Add New Lead” form.
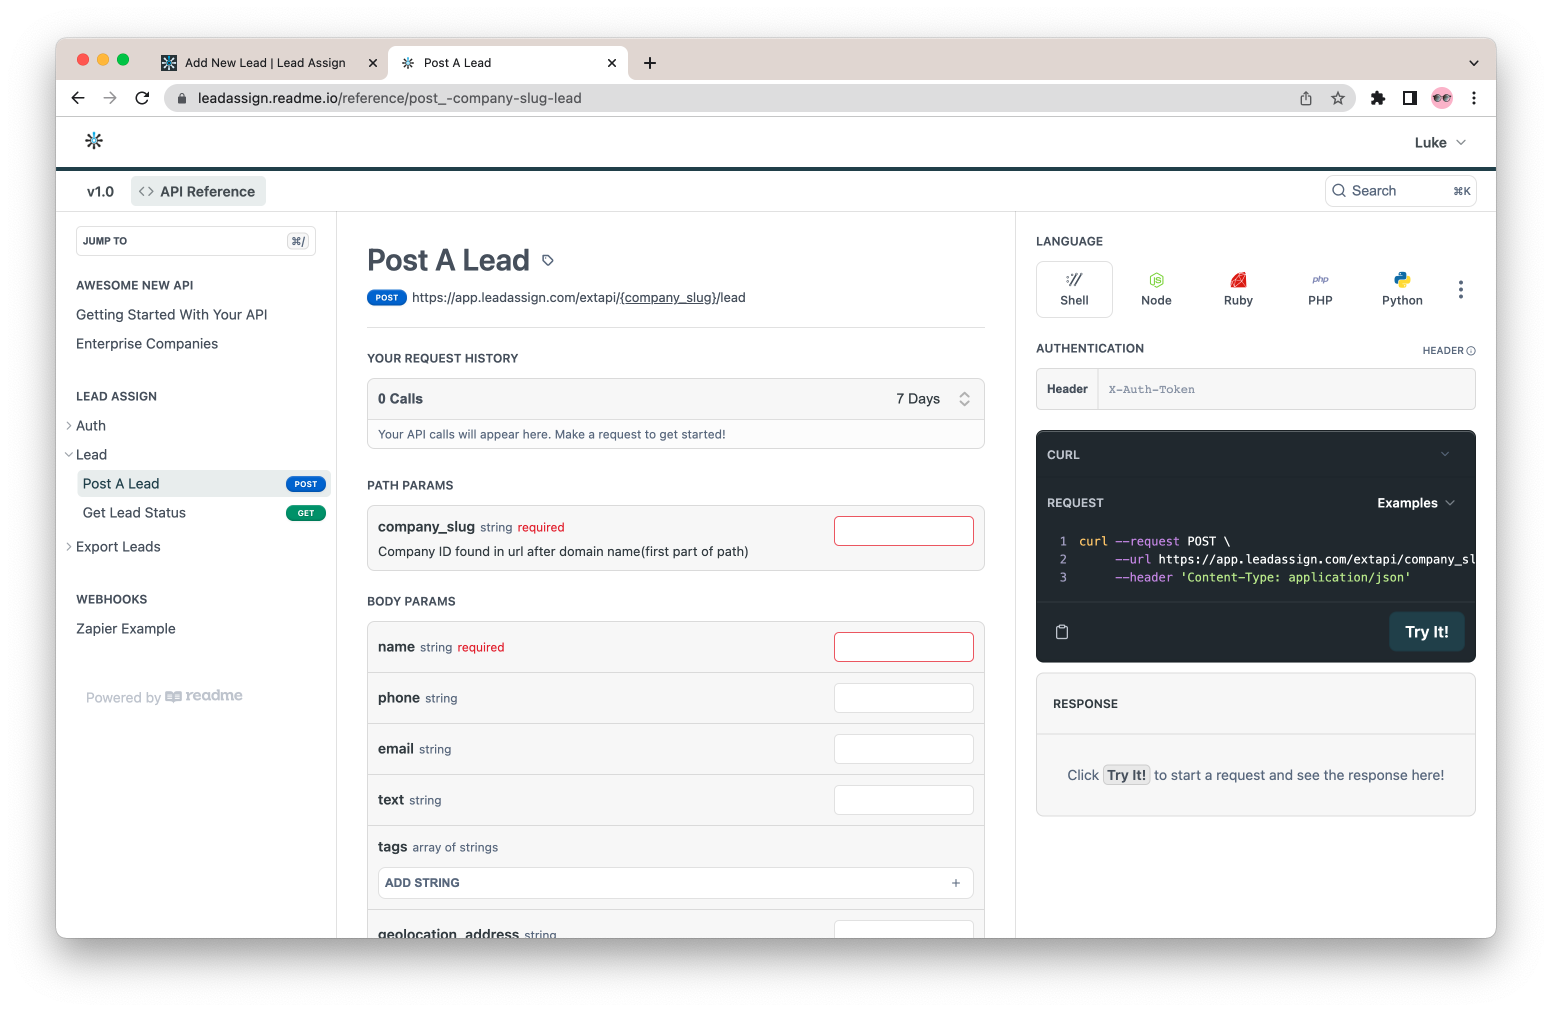
Our more tech savvy users may want to use our API.
Using our API, users can Post a lead, get lead status, export leads, or use our webhook to populate a CRM.